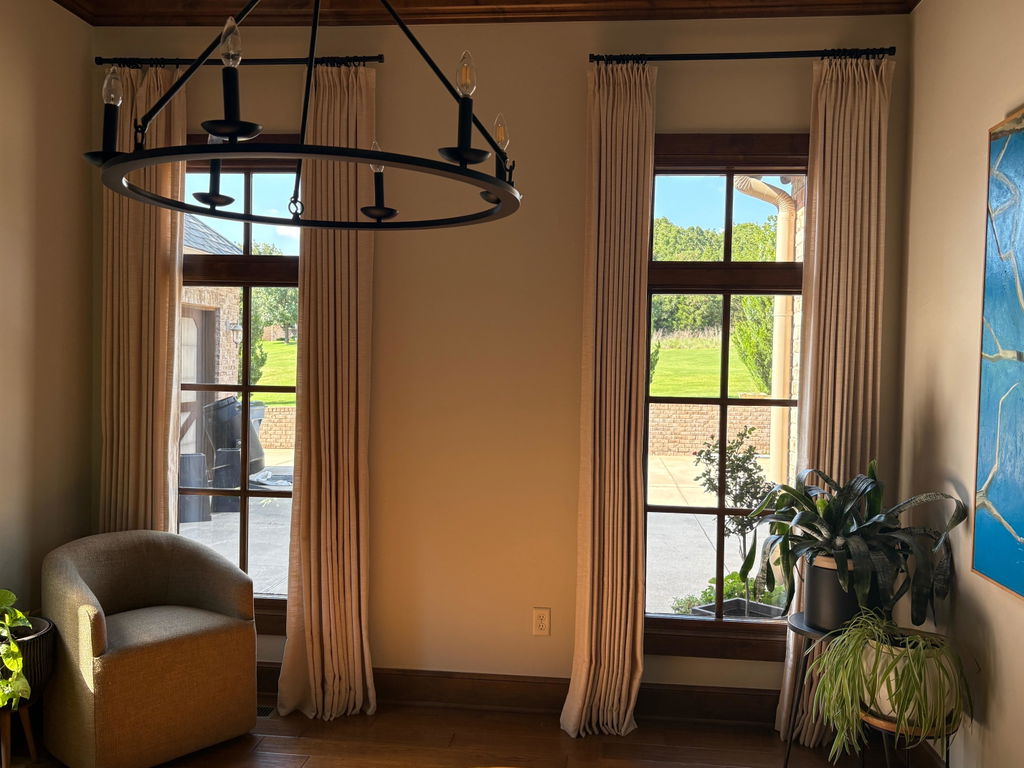
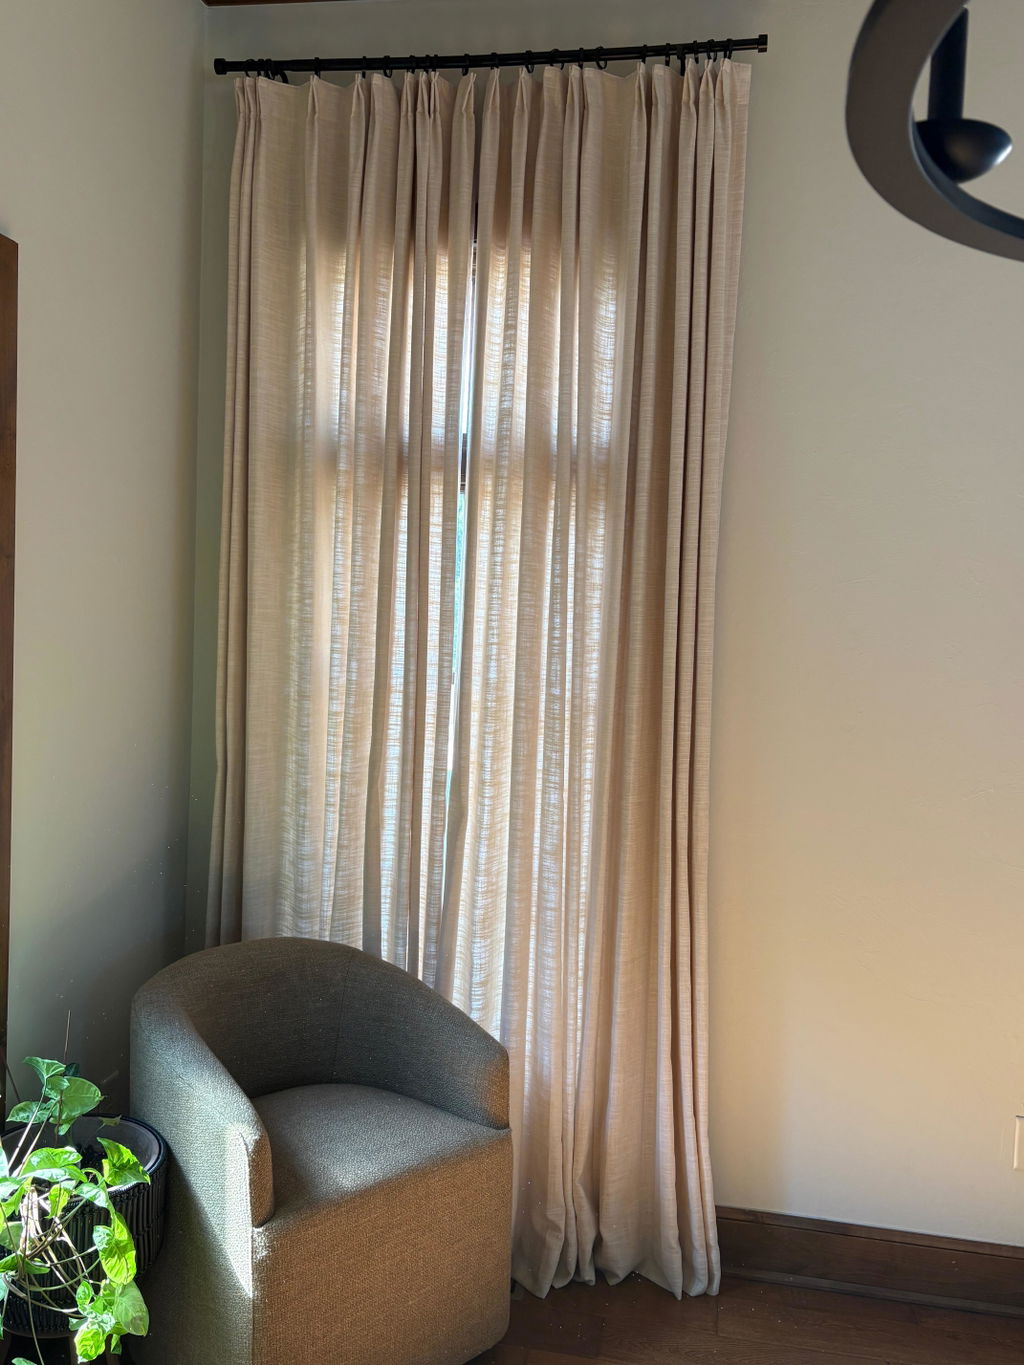
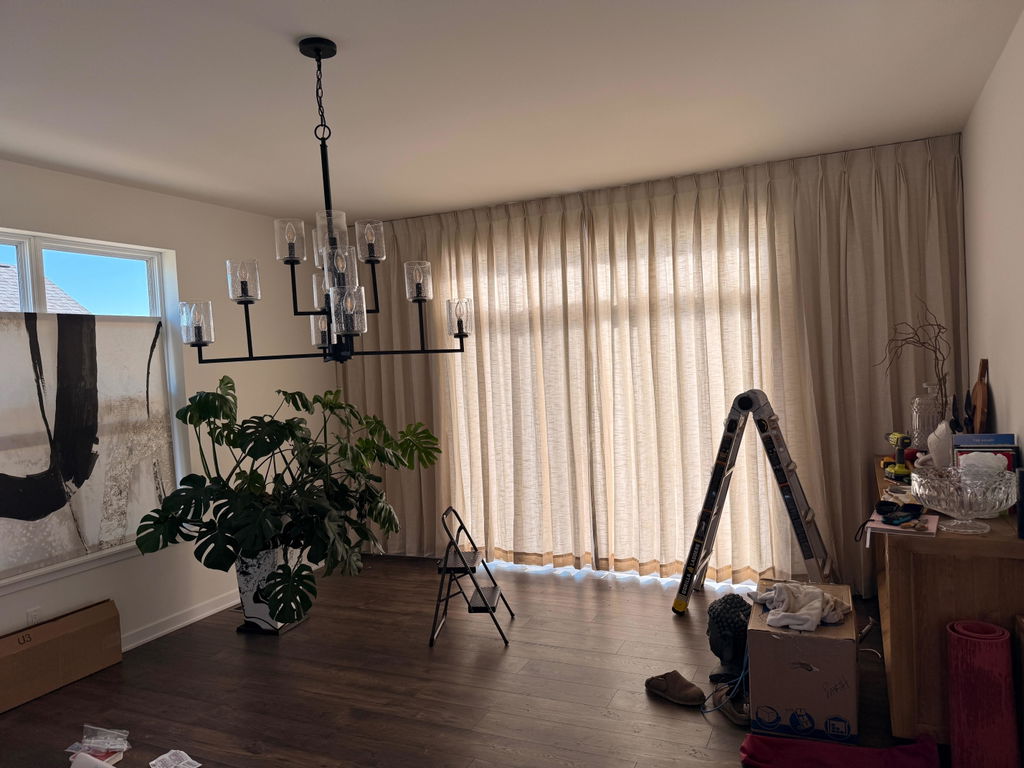
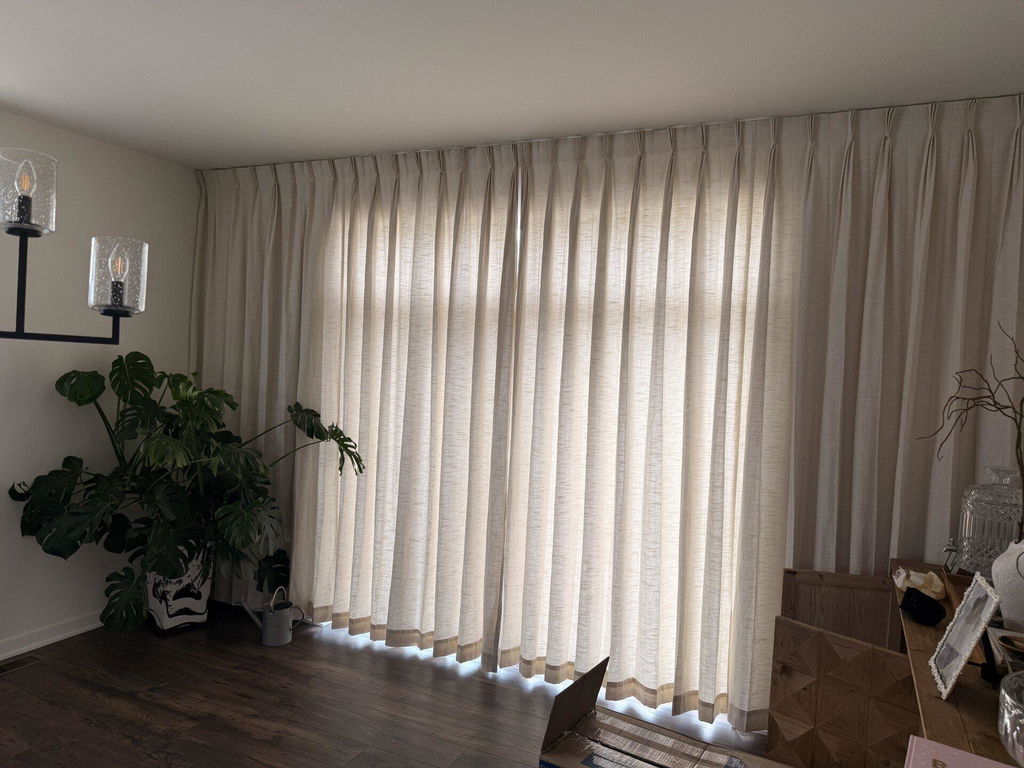
We just moved into our home and needed to cover a full floor-to-ceiling wall of glass in our dinette, and TWOPAGES' Jawara curtains delivered a moment that feels genuinely elevated.
The fabric itself is substantial, beautifully textured, with a soft neutral hue that reads effortless and expensive without trying too hard. The lining diffuses the natural light into this soft, glowy wash across the room while actually keeping the space noticeably cooler, which matters more than people realize when you have afternoon sun blazing through.
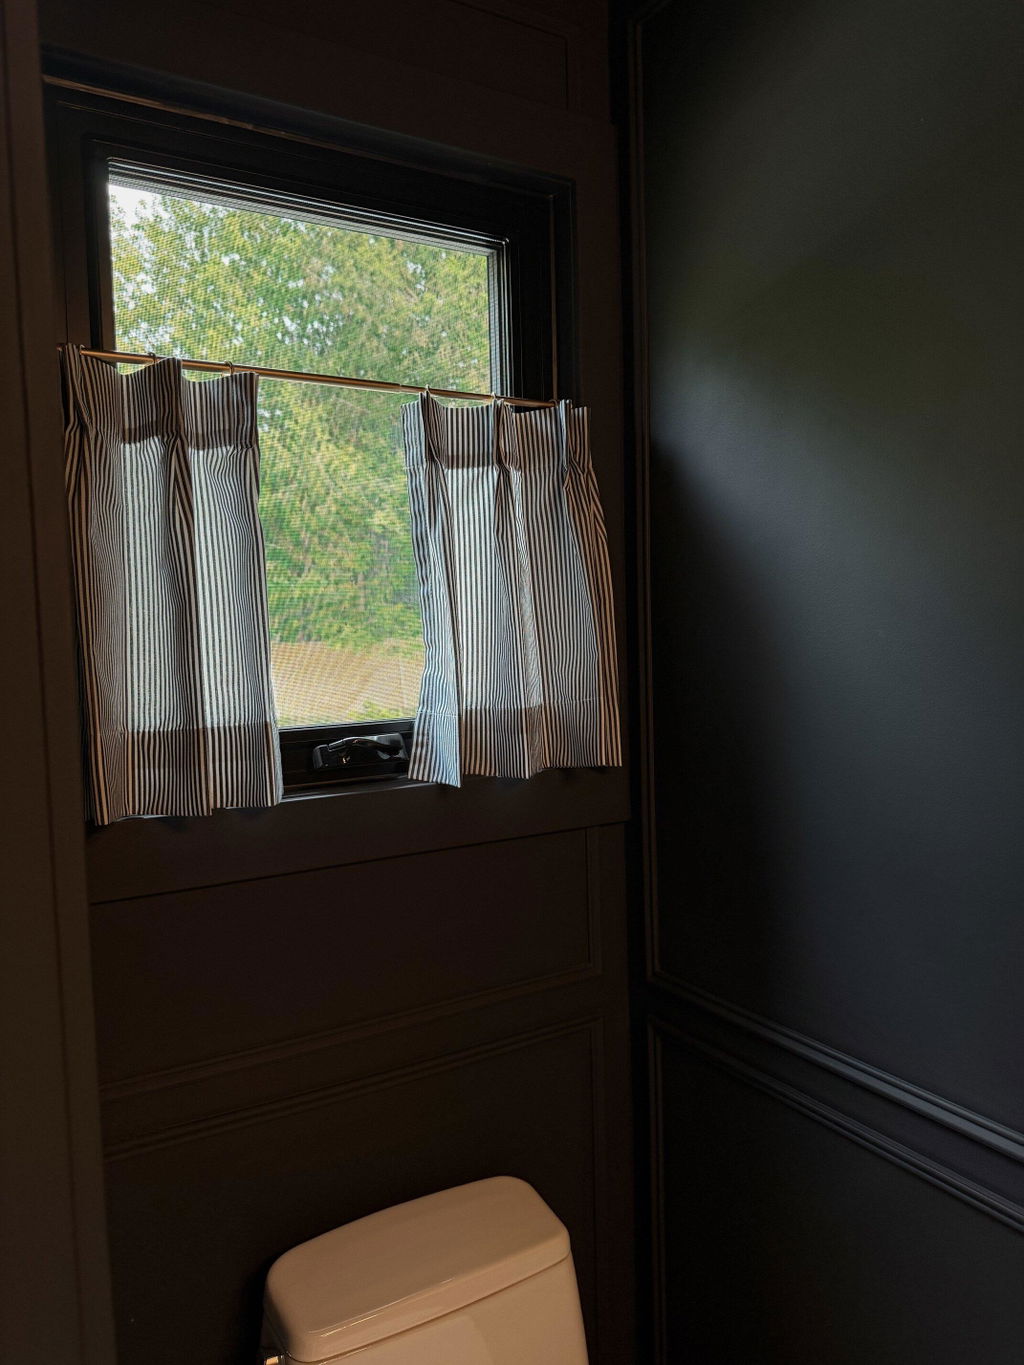
My favorite detail? The adjustable fabric pins let us completely conceal the ceiling-mounted track, so all you see is this clean, tailored pleat from floor to ceiling. And since we're brand new to this house, the coverage gave us instant privacy without sacrificing an ounce of style.
The quality rivals what local specialists were quoting us at, but for a third to a quarter of the price.