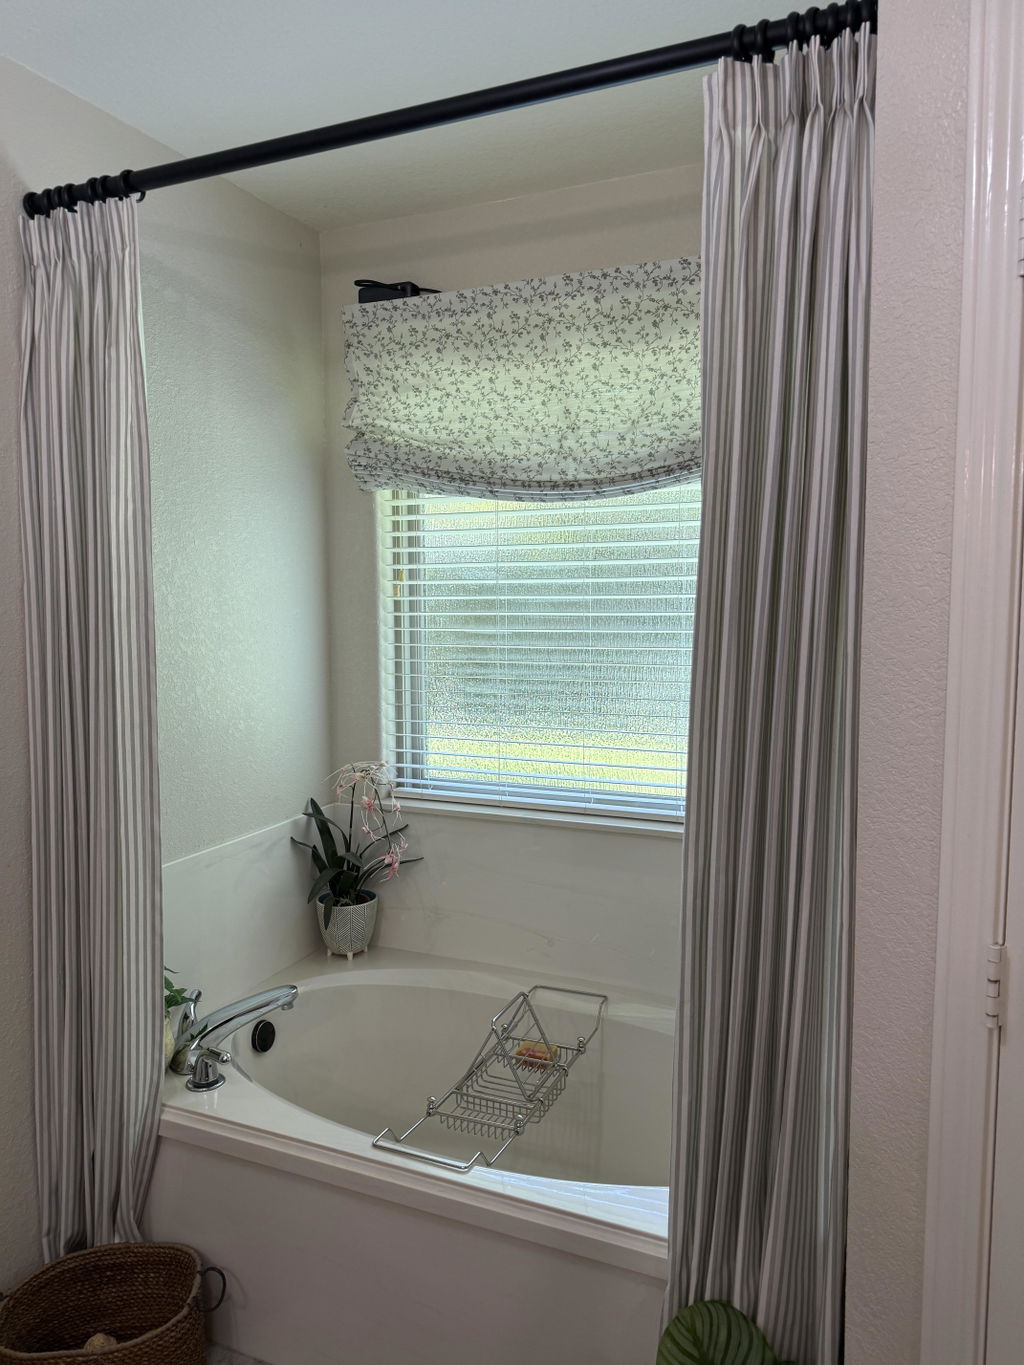
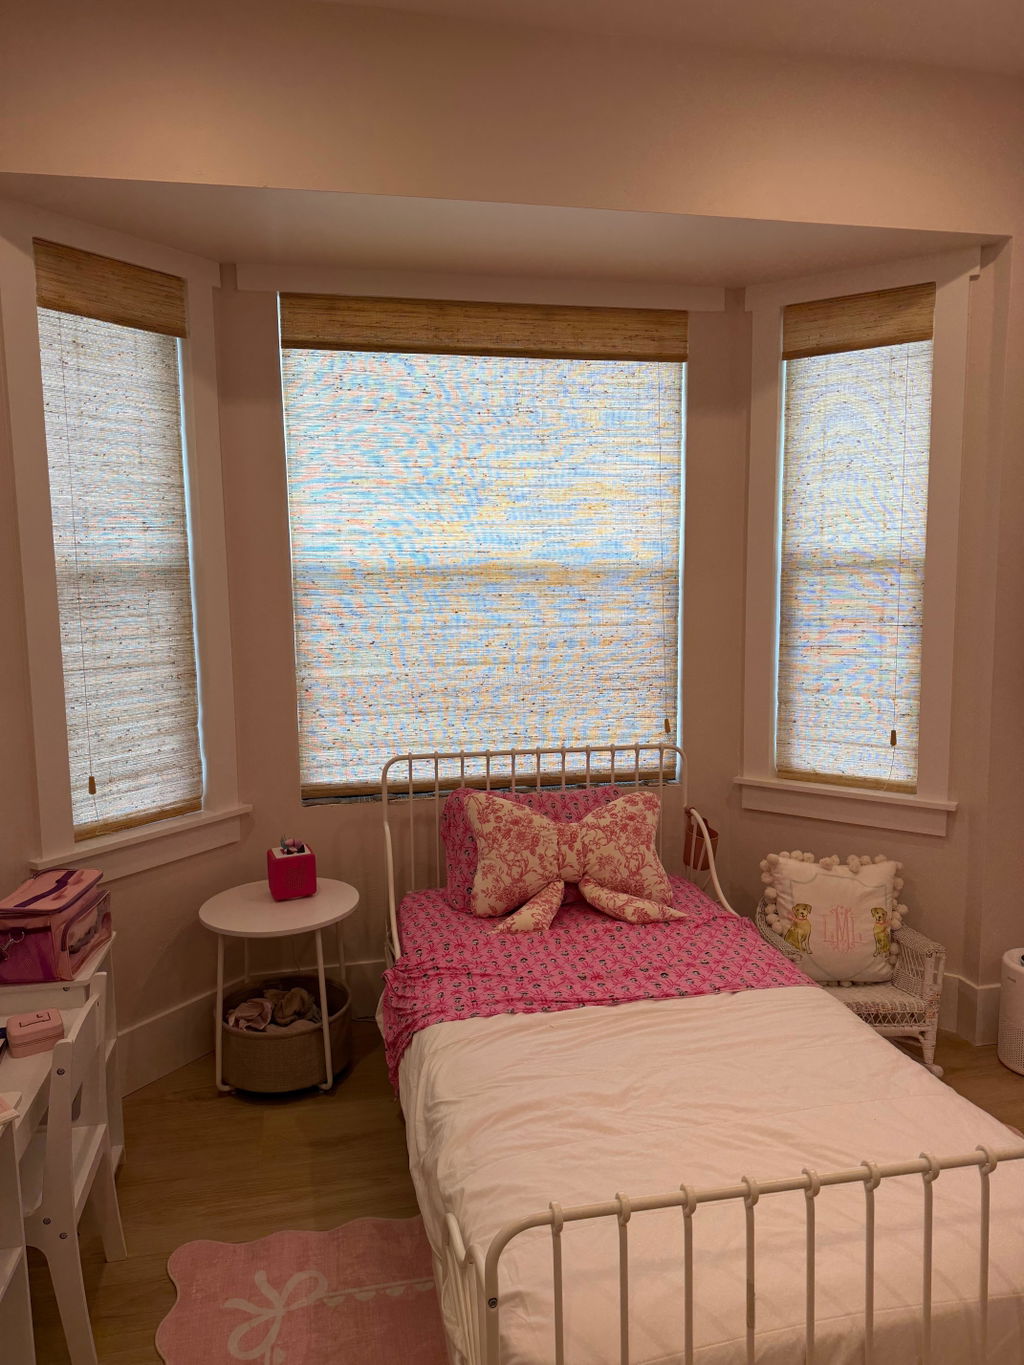
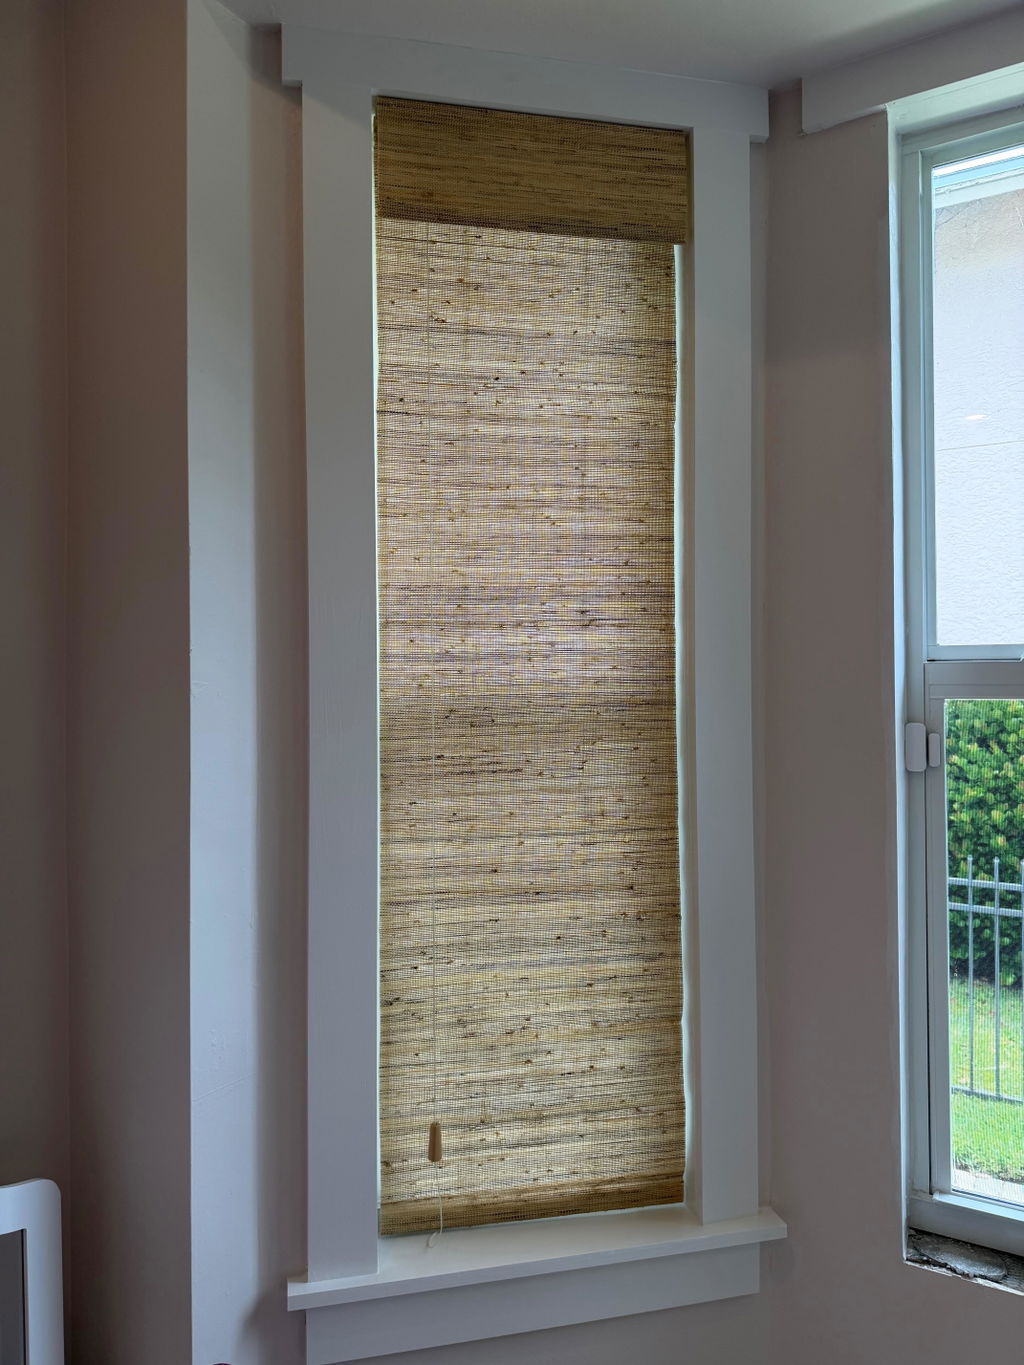
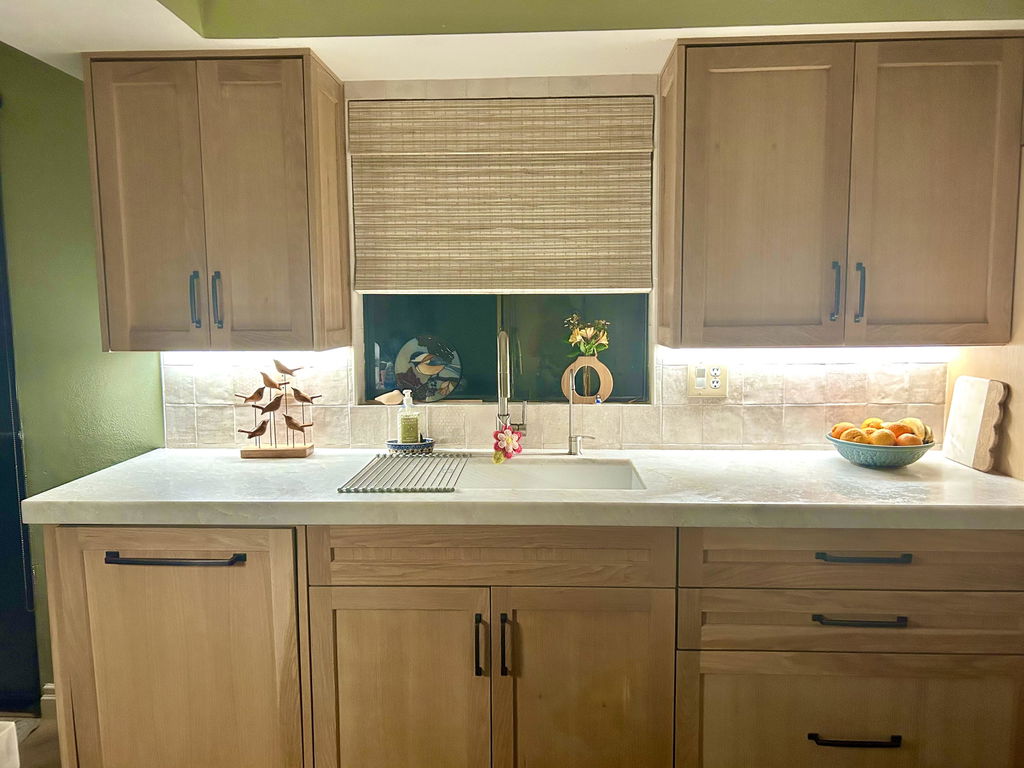
Home Updates with Bamboo Shades
Cozy Master Bedroom Decorating
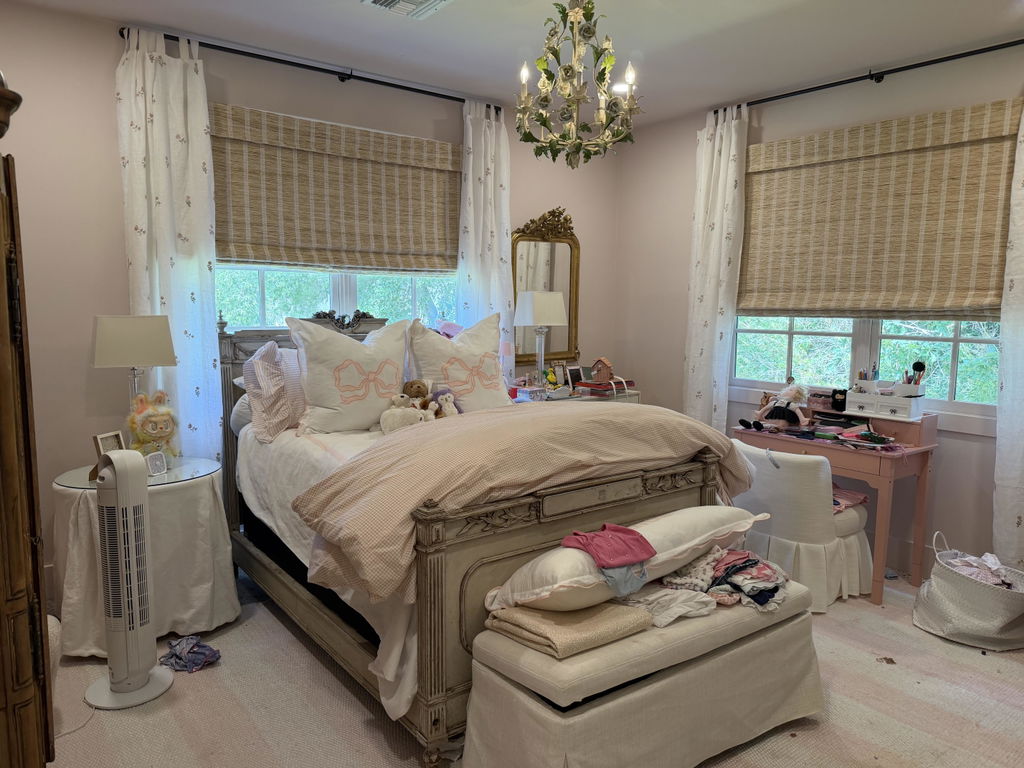
Vintage Guest Room Makeover
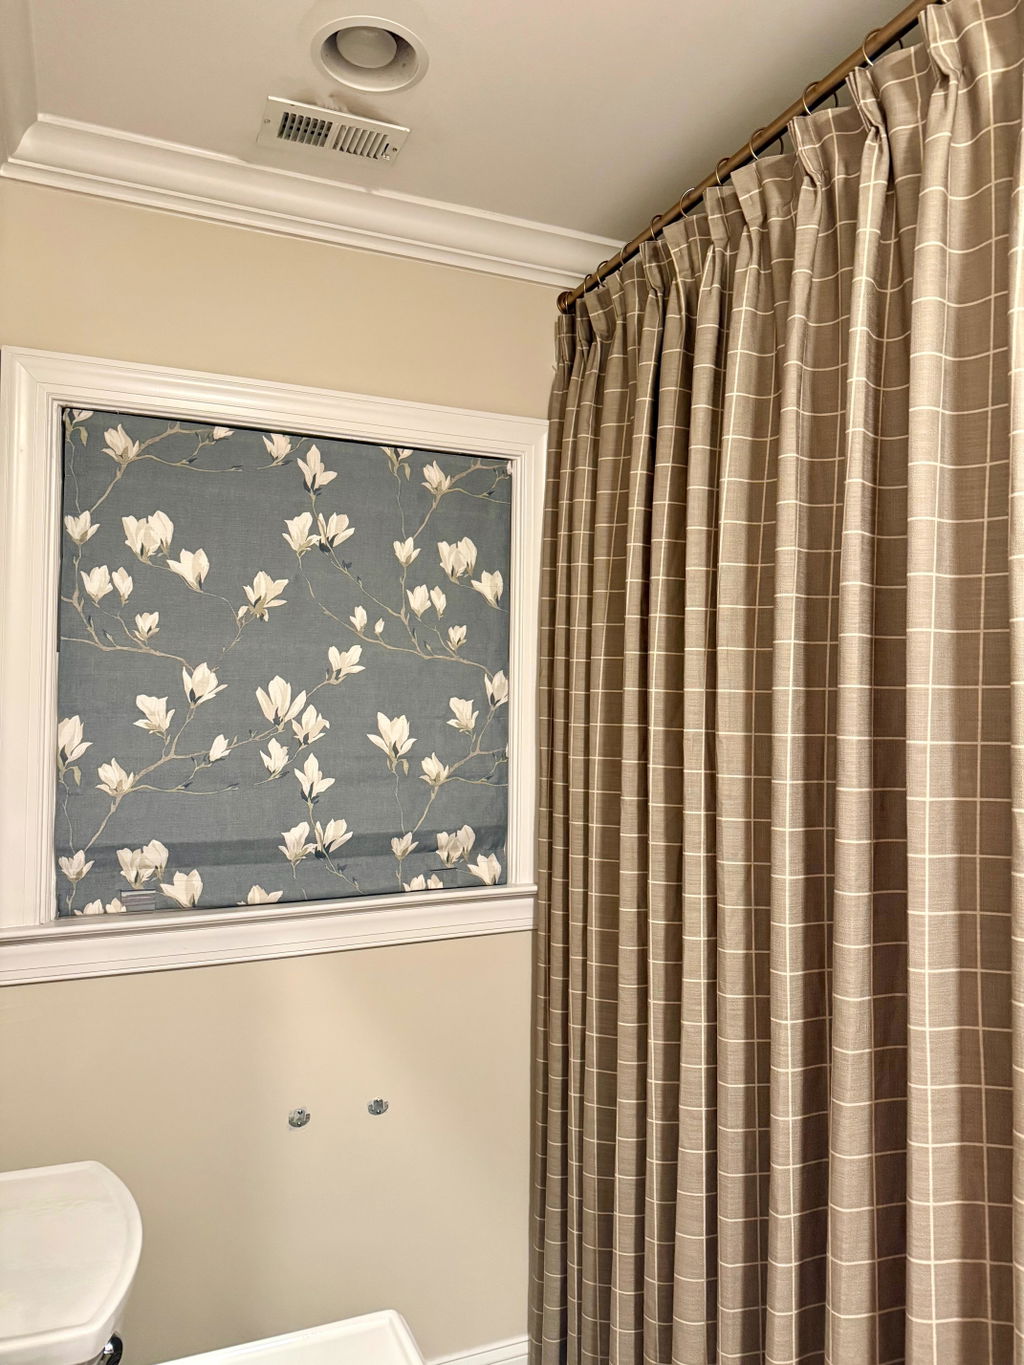
Early Winter Decor with TWOPAGES
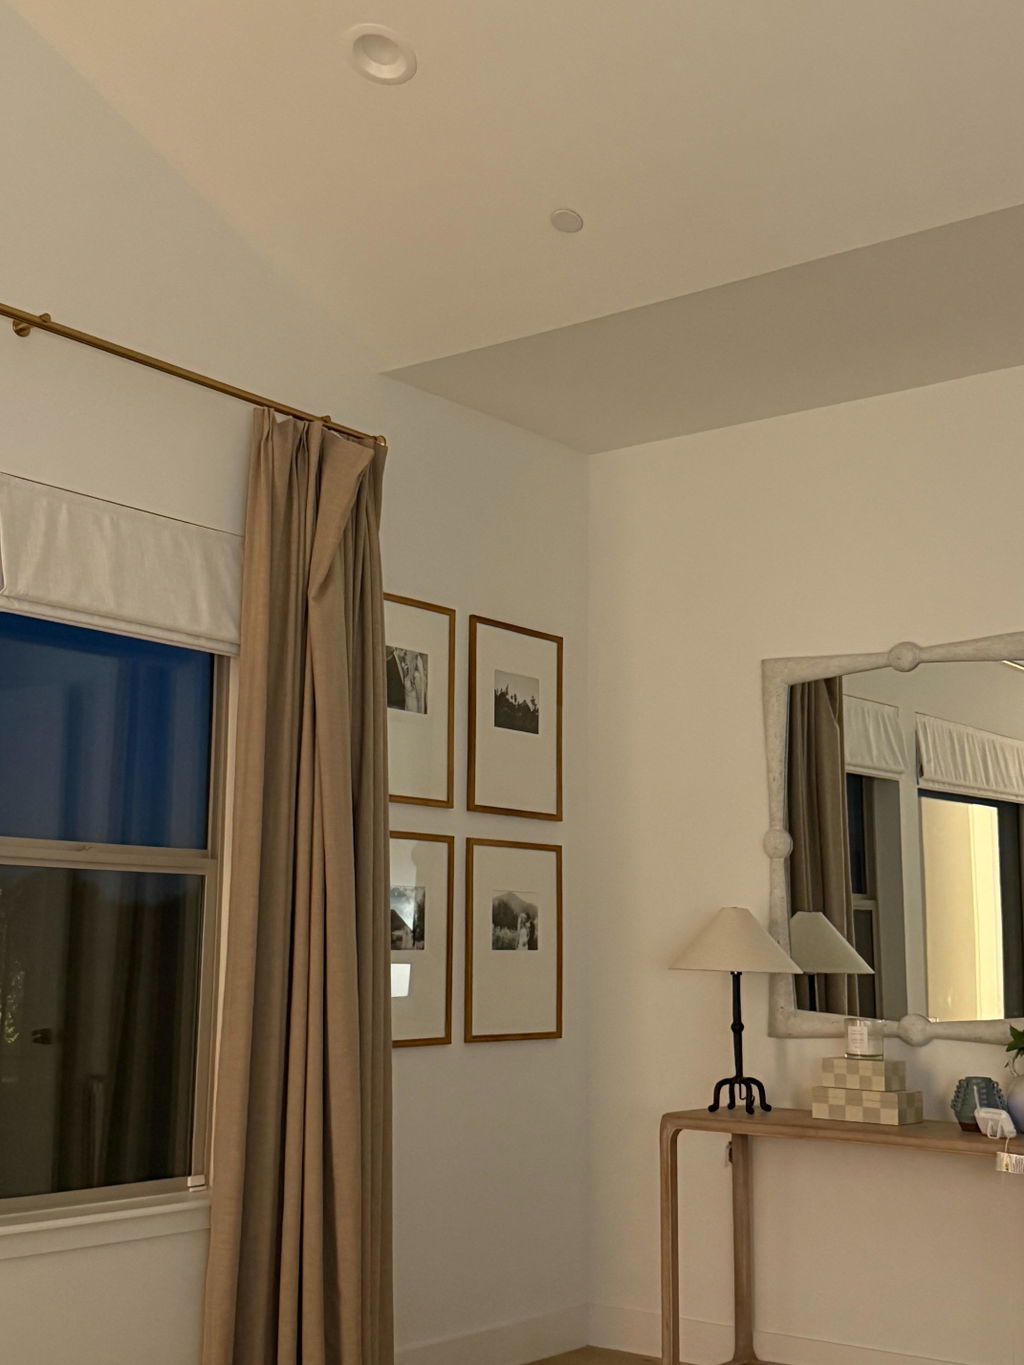
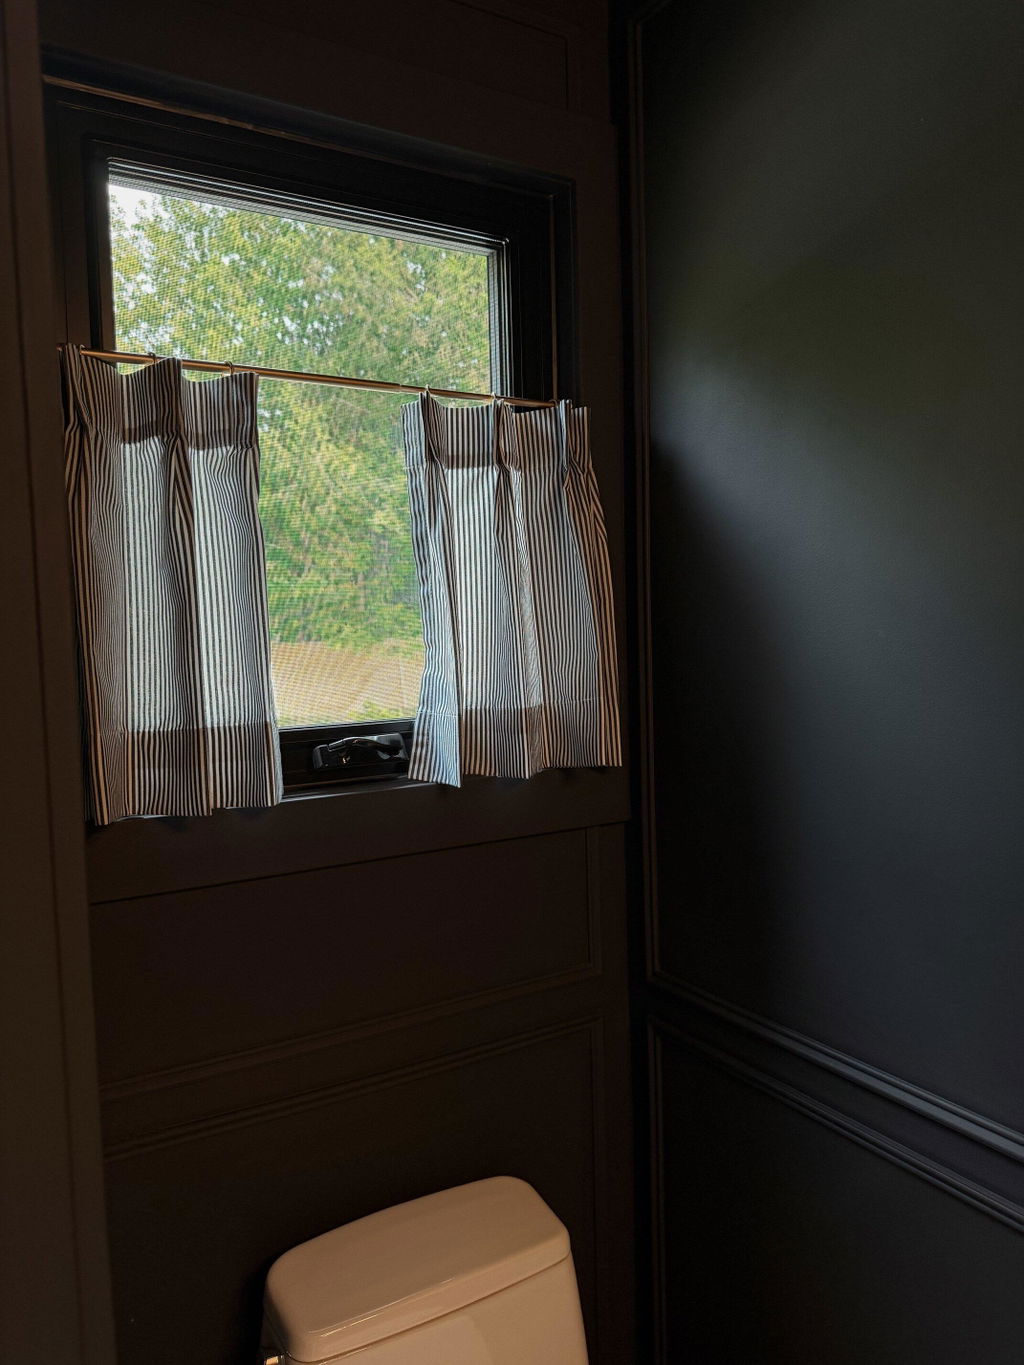
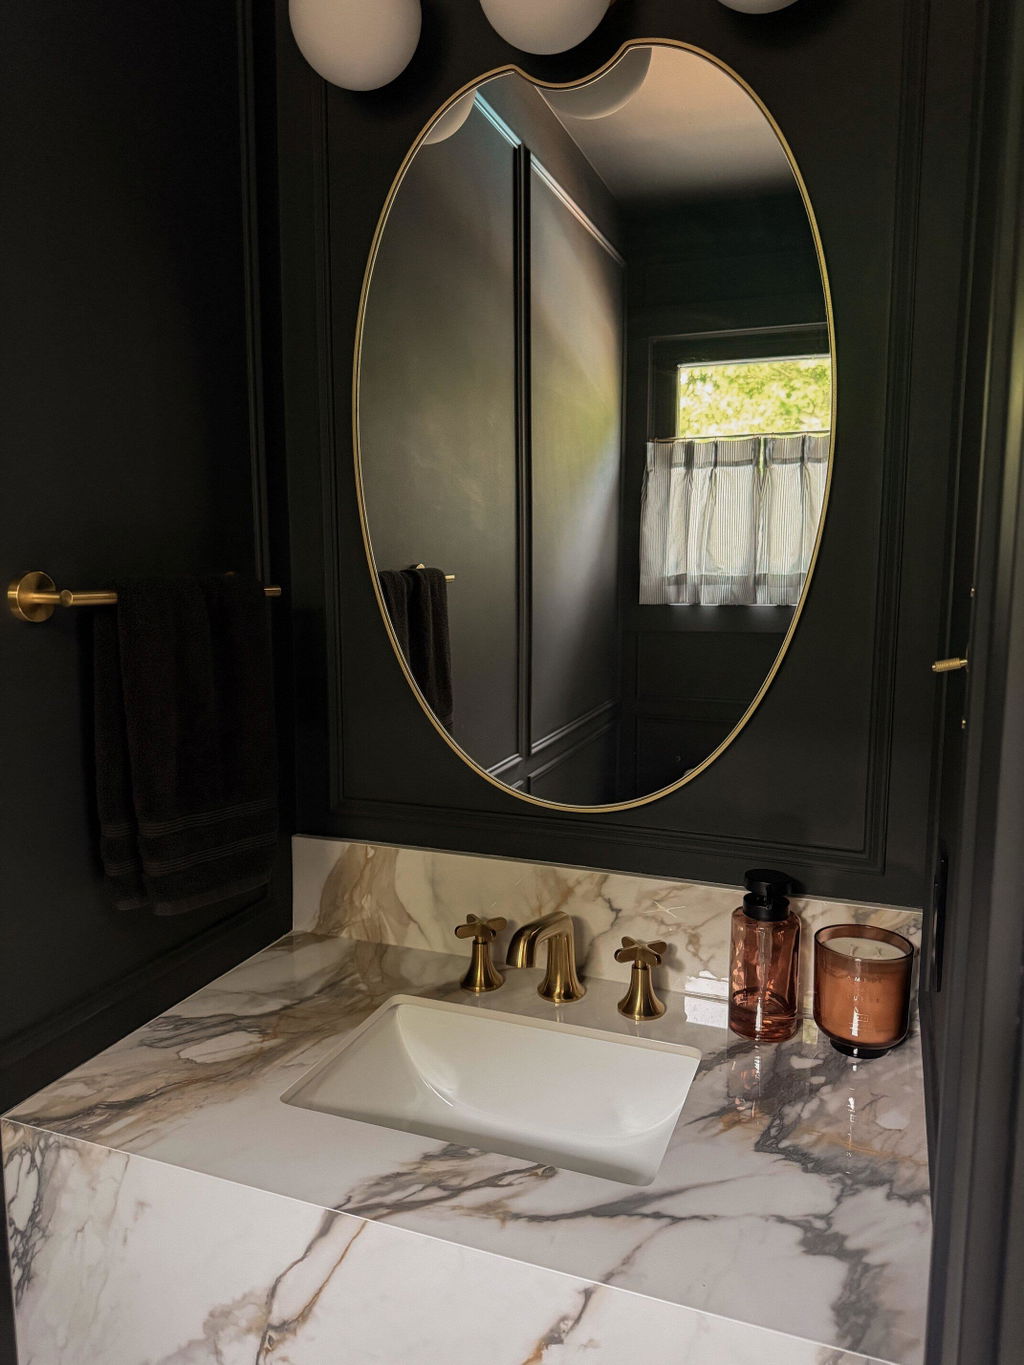
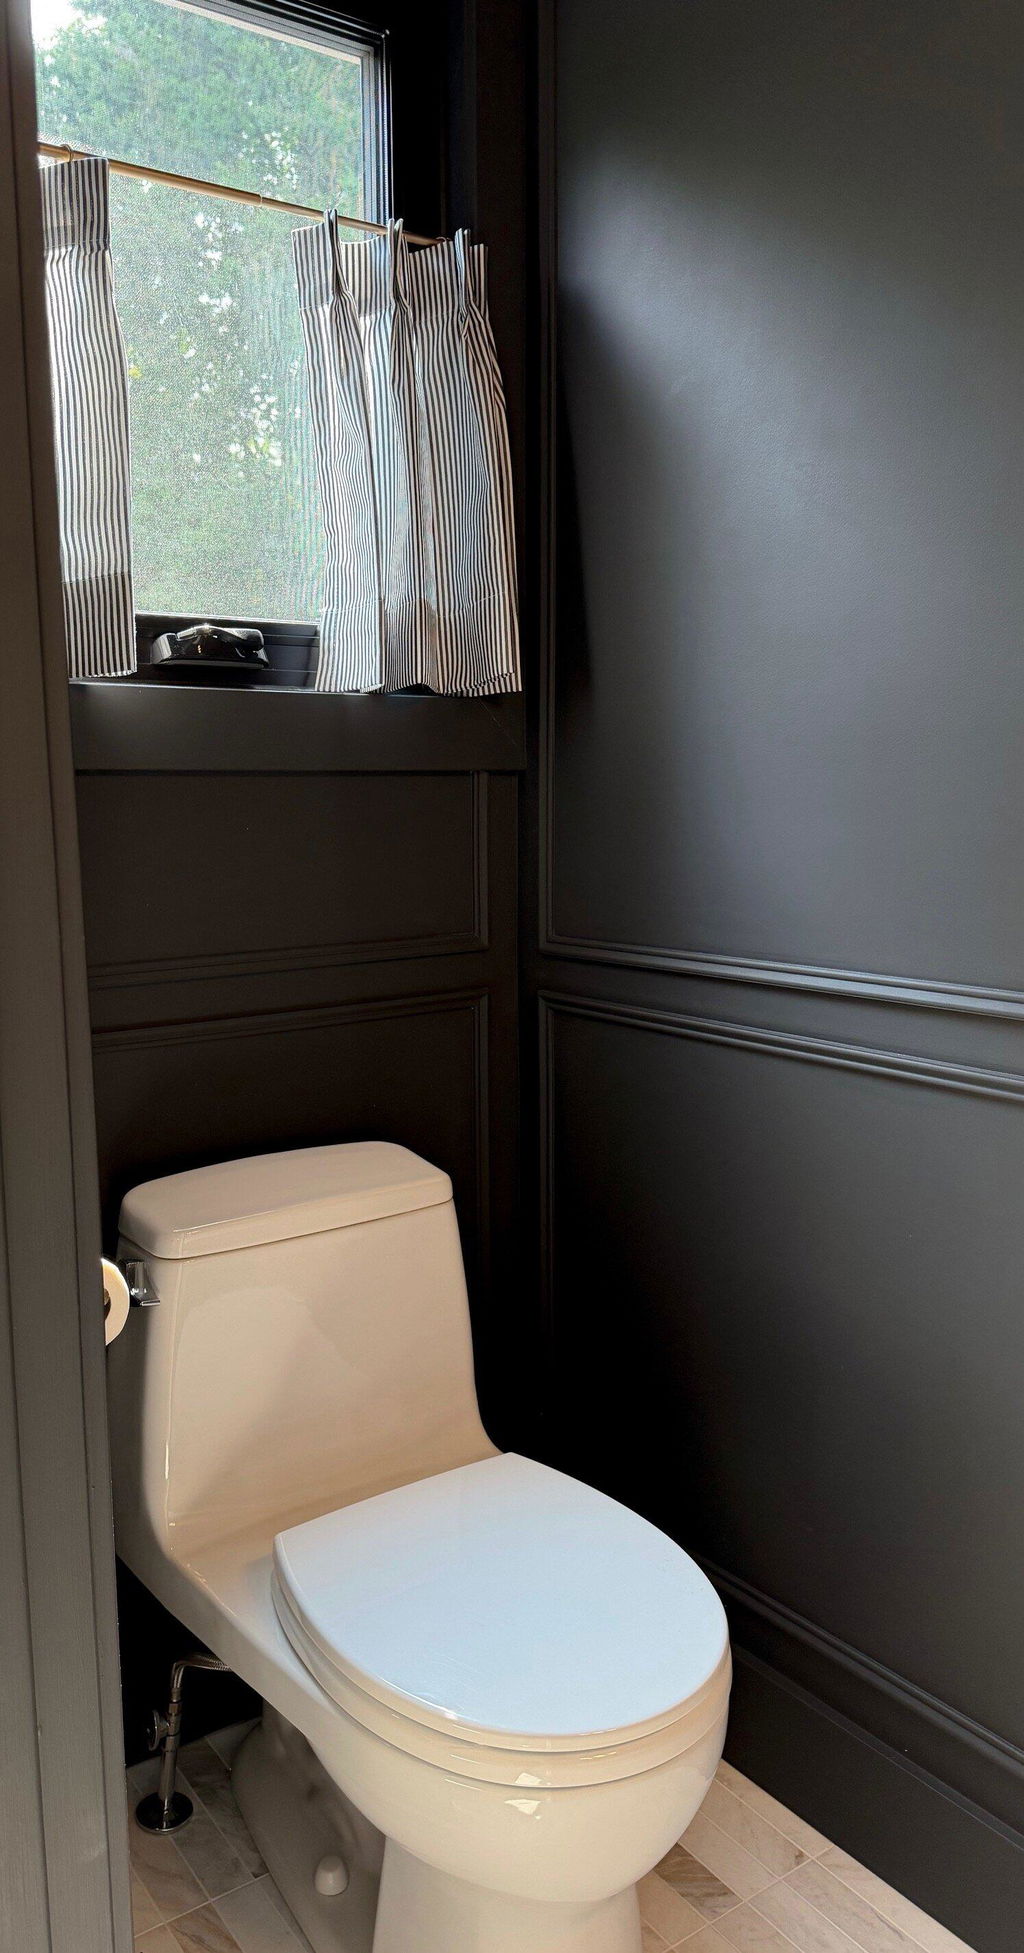
Primary Bedroom Make Over Moody Aesthetics
Neutral Living Room Updates
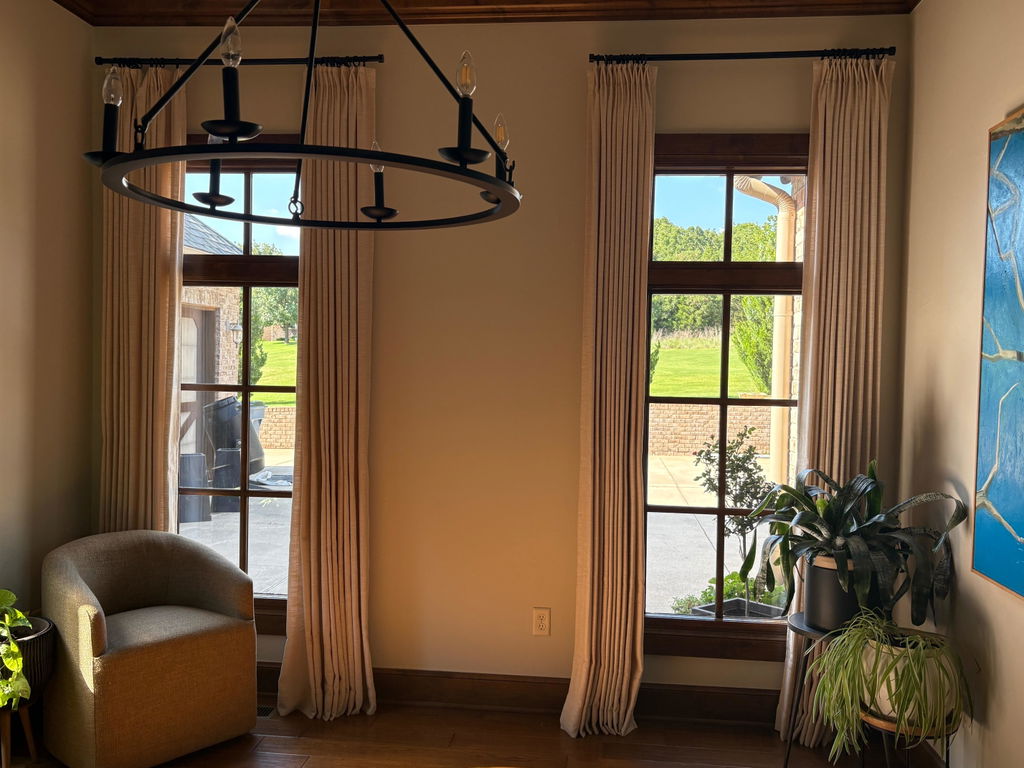
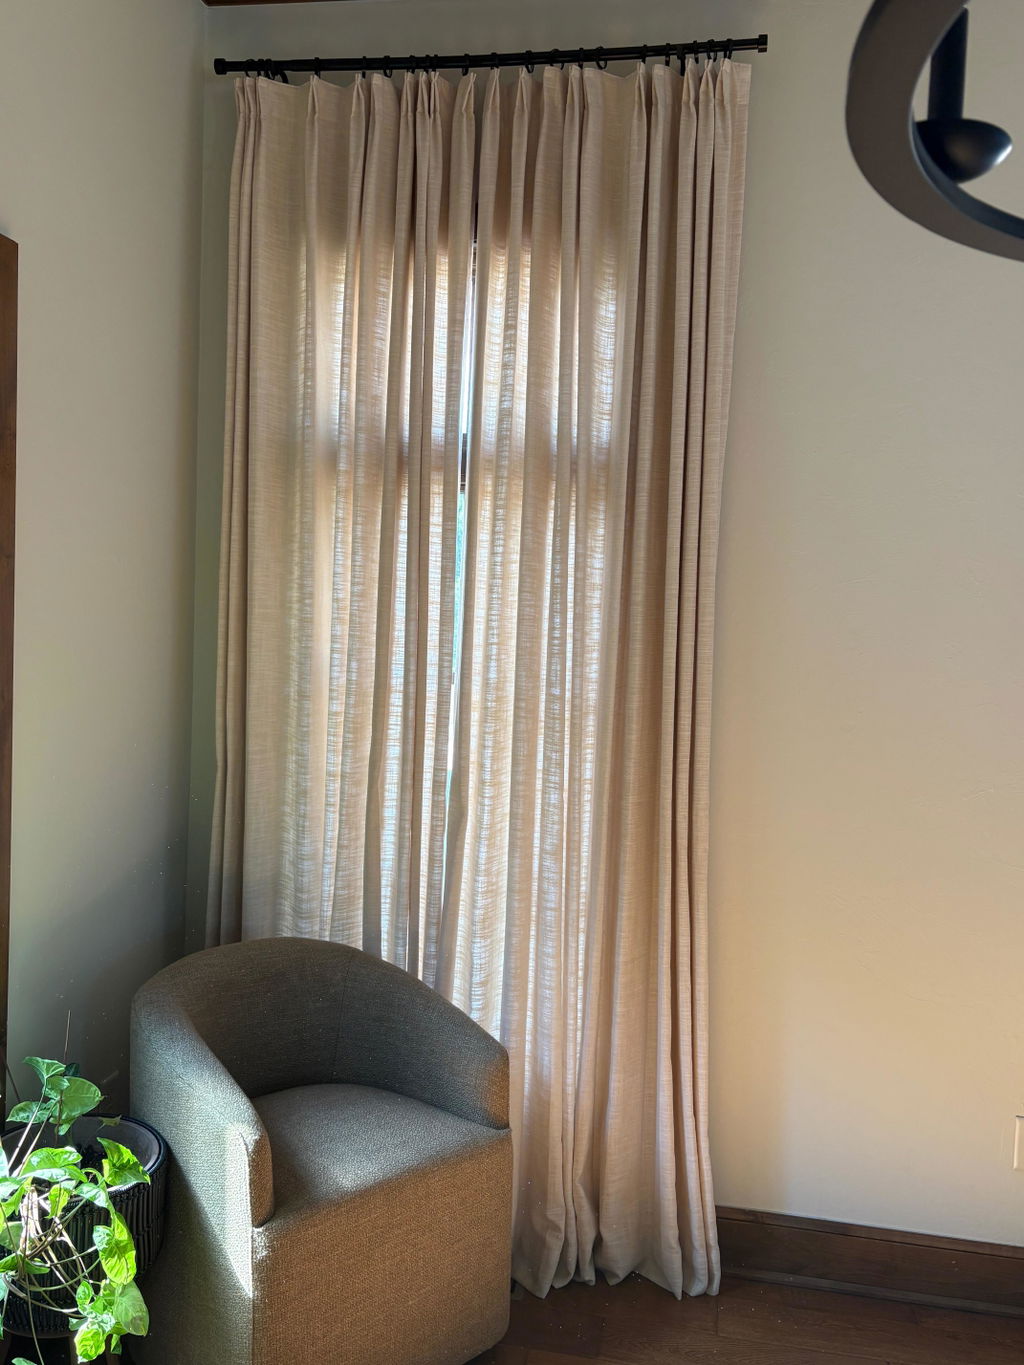
New Living Room Luxury Home Decor
Home Decor Ideas to Fall in Love with Your Home Again!
Simple Fall Styling for Dining Room
Dream Living Room Makeover
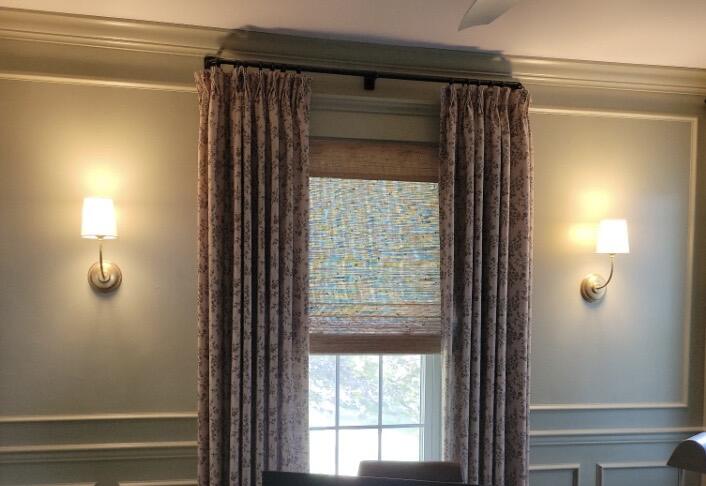
Before and After Window Makeover
Living Room Makeover with TWOPAGES Custom Curtains
Fall Home Projects & Decorating
A Detailed Look at How Our Curtains were Installed with Sarah!
Extreme Dining Room Makeover
Complete Master Bedroom Makeover with TWOPAGES
Decorate with TWOPAGES Roman Shade | Budget Friendly Custom Curtains
Making Over The Lobby with TWOPAGES Curtains
Blackout Curtains for Summer| Protected from Strong Sunlight and Glare
Compact Space Upgrade with TWOPAGES Roman Shades
Studio Apartment Makeover with TWOPAGES Roman Shades
The Most Affordable Custom Curtains| You Found the Best Ones
Modern & Neutral Decoration with TWOPAGES Curtains
Elevate your Space with Budget-friendly Custom Curtains