How to Install a Shower Curtain
Proper installation of a shower curtain is the key to a clean, working bathroom — no matter if you're installing a plastic curtain or a fashionable fabric shower curtain with a built-in liner, the following in-depth steps on how to install a shower curtain will have the task done in no time.

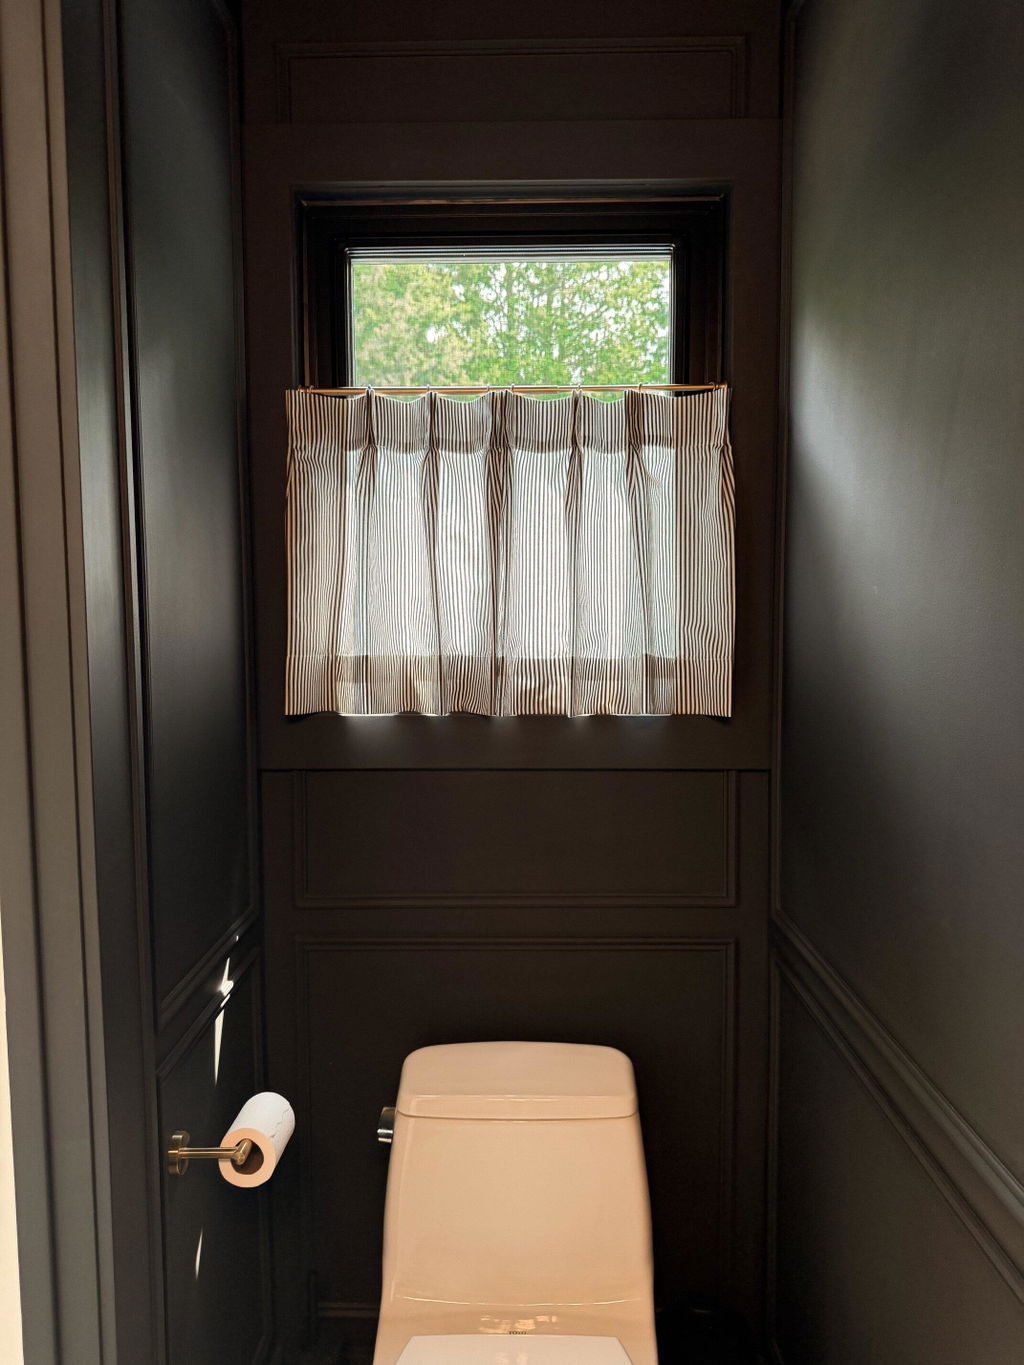
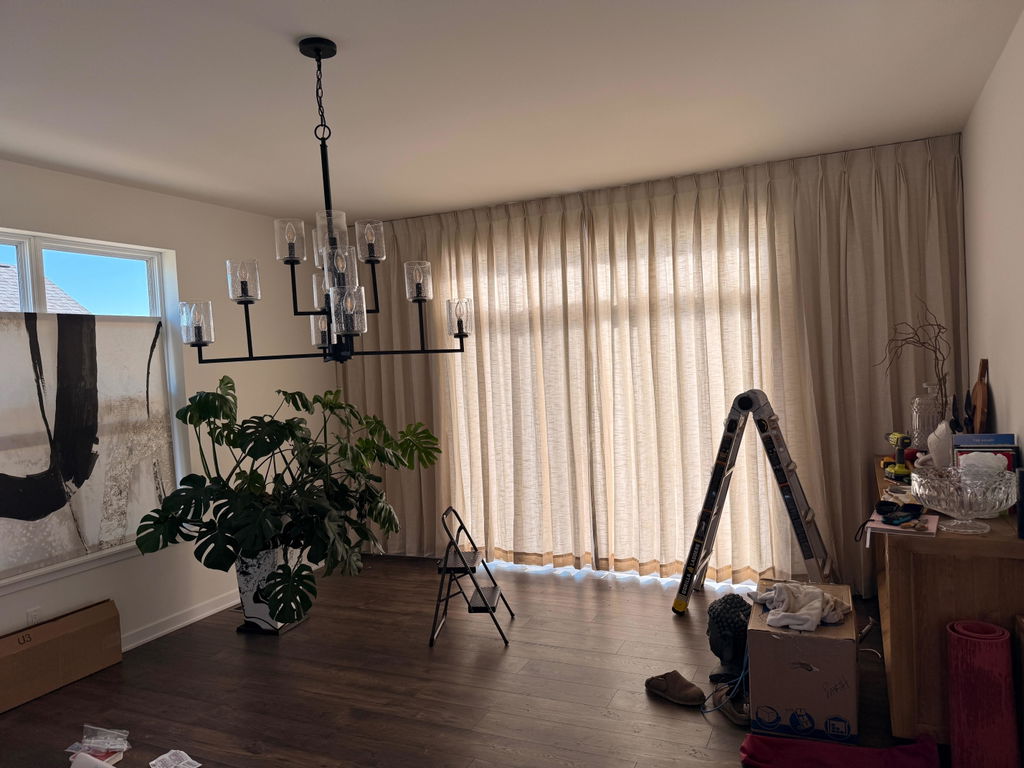
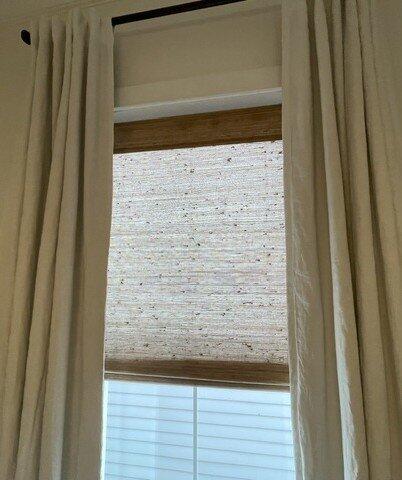
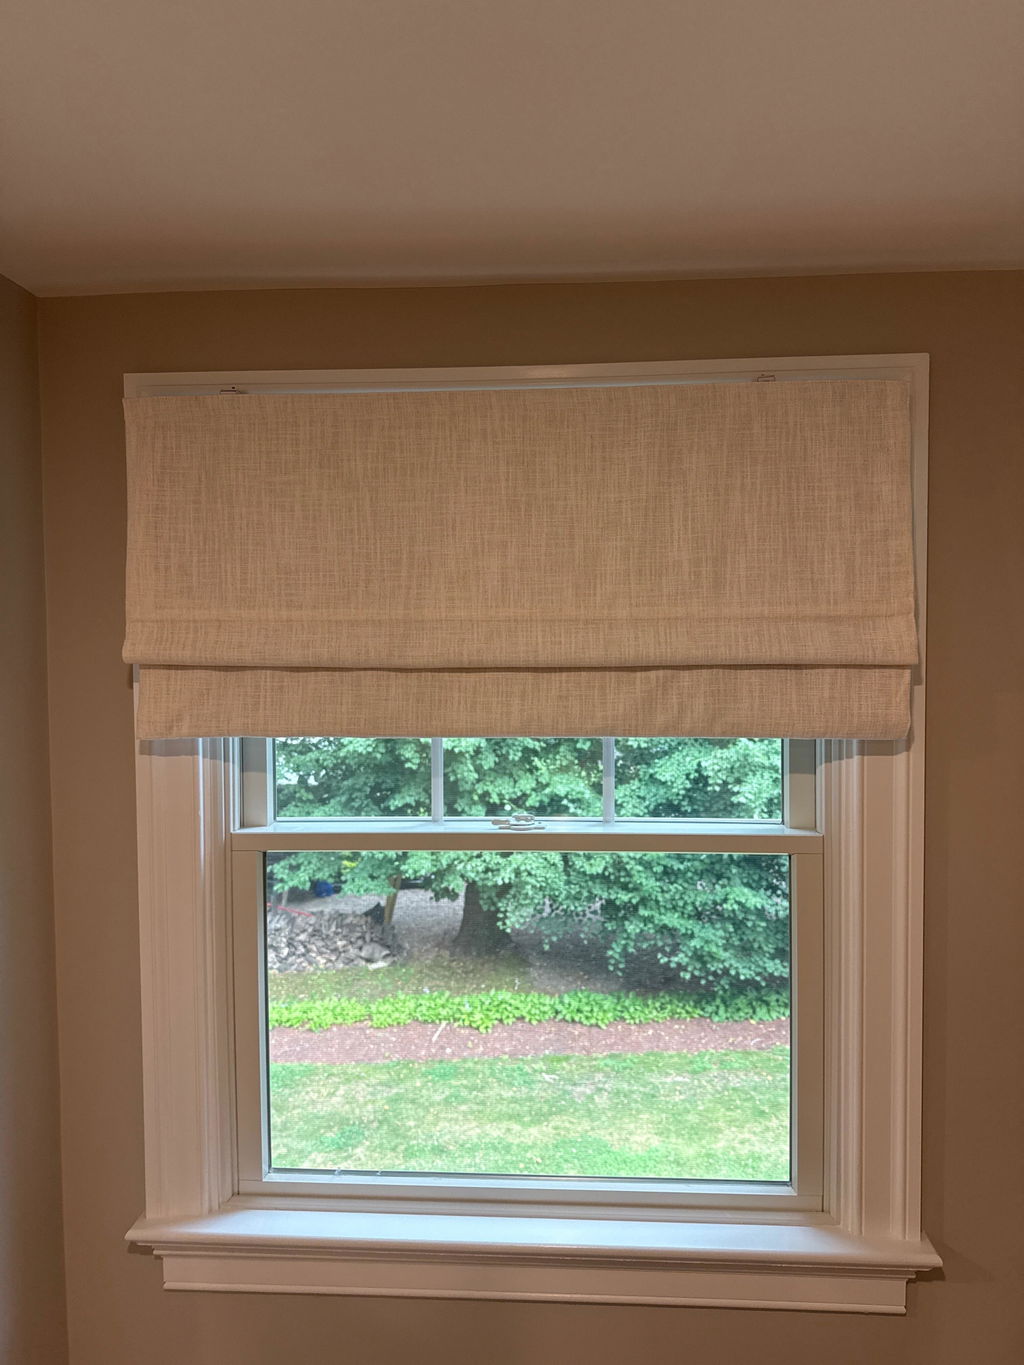
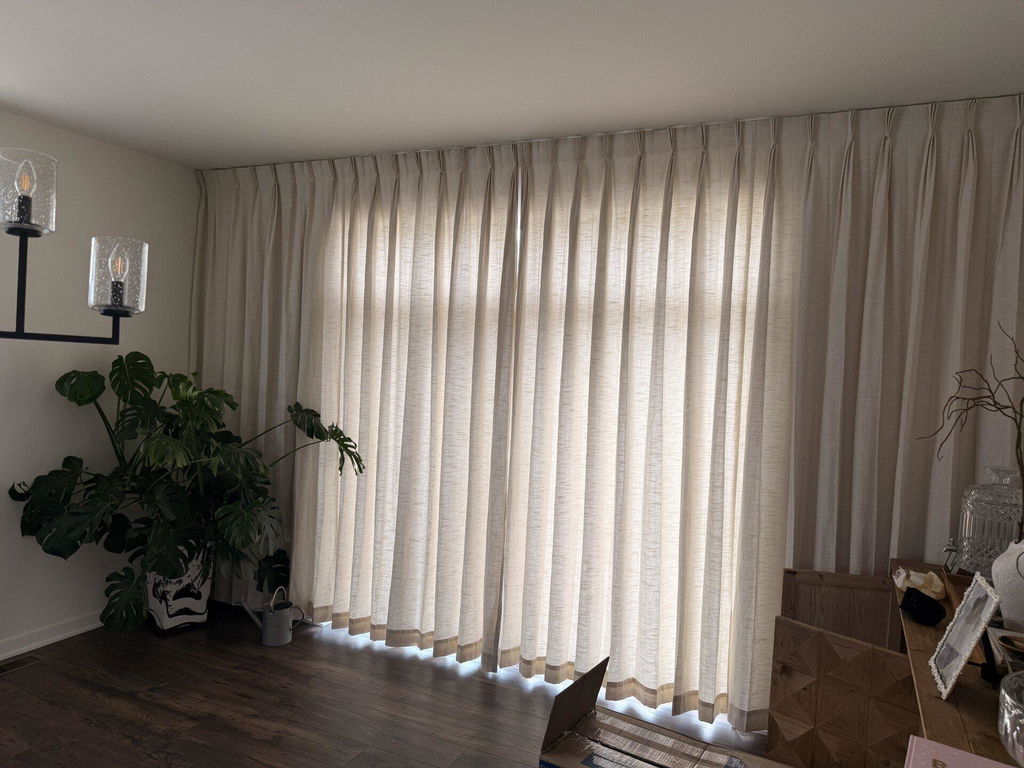
Pictured: Custom Luxury Bathroom Curtains with Waterproof Layer.
Why Correctly Installing Shower Curtains Matters
Learning how to install a shower curtain might be a fairly easy task, but having a shower curtain installed correctly will make a big difference for your bathroom in waterproofing, along with physical appearance. Having the proper shower curtain installed will stop water from splashing, will protect your walls and floor from moisture damage, and provide better ventilation and hygiene in bathrooms as well. In total, improper shower curtain installation will collect water, provide hollow spots for fungus growth around the edges, cause the curtain to fall off the rod constantly, and require you to restore the curtain repeatedly. So simply spending a few minutes to install a shower curtain can limit overall maintenance and keep your bathroom appearing neat.
Long-term benefits: reduced water damage/mold resistance/flexible life of the shower curtain and liner, beautified bathroom.
Tools & Materials You’ll Need
Pre-installation process of how to install a shower curtain: Before you start installing your shower curtain, make sure you have the following tools and supplies. Using the right tools will help speed up and reduce mistakes in the installation time.
-
Shower curtain (fabric or plastic) and liner (if used).
-
Shower curtain rings or hooks (decorative or simple).
-
Shower rod (tension rod or fixed/bracketed rod).
-
Tape measure and pencil (precise measurements and markings).
-
Level (small bubble level or phone app).
-
Drill and appropriate drill bits (for fixed rods).
-
Anchors and screws (often included with bracketed rods).
-
Step stool or ladder (if needed).
STEPS ON HOW TO INSTALL A SHOWER CURTAIN
Step 1. Measure Carefully
Accurate Measurement
Measuring accurately ensures your shower curtain fits and functions as intended. Start by determining the rod's height(Consider where the curtain will meet the shower or tub, and aim for a few inches of overlap to prevent splashing).
Use this formula to determine the rod height:
Rod Height (H) = Curtain Length (L) + Hook/Ring Drop (R) + Desired Bottom Gap (C)
Where:
-
L = Curtain length (e.g., 72 in)
-
R = Hook or ring drop (typically ~1 in, depending on hardware)
-
C = Desired bottom gap above floor (commonly 2–5 in to prevent contact and avoid mold)
Example calculation:
If L=72 in, R≈1 in, and C=2 in, then H=72+1+2=75 in. Indeed, many guidelines recommend hanging the rod between 75–77 in above the floor as the standard practice.
Precise Marking
Using your tape measure, measure your identified height on both walls to ensure you have symmetry and to be consistent on both walls. After locating your height, you can measure your net width between the walls (or between both sides of your tub) to determine the length of the rod you require. If you are using a tension rod, select the length within the adjustable height the manufacturer lists; if you are using a fixed bracket system, measure the total width minus the thickness of the brackets before buying a rod. If installing over a bathtub, measure the long side. When measuring for a shower curtain rod, measure for your ceiling height; extra-long (84-96 inches) creates a luxurious hotel feel. Next, using your level, connect your marks horizontally. Finally, review everything you have done, because any measurement mistakes you made here can lead to the curtain hanging unevenly or poor water containment. This step should typically take 5 to 10 minutes and will save you a lot of annoyance afterwards.
If you’re replacing an old rod, remove it first and measure wall-to-wall where the new rod will sit.
Pro tip: Round measurements to the nearest 1/8" for a snug fit, especially with tension rods.
Step 2. Choose the Right Rod and Hardware
Choosing a suitable rod is key to a secure mount and an attractive finish.Tension rods are ideal for renters or quick installs—no drilling required. They use spring-loaded mechanisms to expand and grip walls, fitting spaces from 42 to 72 inches typically. For more permanent solutions, fixed or bracketed rods offer superior strength, especially for heavier curtains.
Consider materials: Stainless steel or aluminum resists rust, while curved rods add elbow room in tight showers. Match hardware to your walls—use anchors for drywall and special bits for tile to avoid cracks. For choosing the best shower curtain rod types, factor in adjustability and weight capacity (at least 20-30 pounds). Hooks should be rust-resistant. This choice impacts ease of use and longevity, so prioritize quality over cost.
Step 3. Install the Rod
As part of how to install a shower curtain rod, with measurements in hand, it's time to secure the rod. Follow these sub-steps based on your rod type for a sturdy fit. Start by sliding the curtain rings onto the shower curtain rod.

Installing a Tension Rod
Tension rods are tool-free and forgiving. Twist the rod counterclockwise to extend it until it's about 1 inch longer than your measured width. Position it at the marked height, compressing slightly to fit between walls. Release to let the spring create tension—test by tugging; it should hold firm without slipping. Use a level to ensure it's straight; adjust by twisting more if needed. Ideal for tile or painted walls, but avoid overly smooth surfaces. If it falls, try a longer rod or add rubber grips for better traction. This method takes minutes and leaves no marks.
Installing a Fixed/Bracketed Rod
For lasting stability, mark bracket positions at your height marks(critical for how high to hang shower curtain rod), ensuring they're level. Drill pilot holes—use painter's tape on tile to prevent slipping, and carbide bits for clean entry. Insert anchors if not hitting studs, then screw brackets in place. Fit the shower curtain rod ends into brackets and tighten any set screws. Test for wobble; reinforce with extra screws if necessary. This is best for frequently used bathrooms, but requires more time (15-30 minutes) and tools. For tile installations, drill through grout lines when possible to minimize damage. Seal around anchors with silicone if you’re concerned about water intrusion.
Note on drilling in grout lines
A conservative approach is: if the grout is wide and in good condition and the load is light, grout may be acceptable; otherwise use proper drill bits on the tile surface with low speed and cooling, or hire a professional.
Step 4. Hook Shower Curtain Headers
Properly hooking the shower curtain to its headers is an essential part of how to install a shower curtain.


Fabric Shower Curtain (with Waterproof Liner)
Lay the fabric shower curtain flat and align it with the waterproof lining (outer fabric decorative surface on top, inner waterproof lining on the bottom). Thread the hook end through the lining's grommet first, then slide the hook end vertically through the pleat or eyelet on the back of the curtain (like threading a needle), completing the process from one end. It's recommended to use about 12 loops to distribute the weight and prevent sagging.
Single-Ply Shower Curtain
Lay the single-ply shower curtain flat, ensuring the holes are aligned and facing outward. Starting from one end, thread the loops or hooks through the holes and secure. A common practice is to use 12 loops (you can increase or decrease depending on the number of holes) to ensure even load distribution. For hookless styles, simply slide the curtain over the rod until it’s evenly positioned(Before securing the shower curtain rod).

Step 5. Hang Shower Curtain and Liner
As the final phase of how to hang shower curtains: Hang the shower curtains or shower curtain and liner on the curtain rod. Spread the curtain evenly, ensuring the liner faces inside the tub for water containment. Test by sliding back and forth; adjust rings if it binds. If it's too long, hem or replace; too short, lower the rod slightly. This final step completes the install, ready for use.
Common Mistakes & Troubleshooting
-
Rod not level: A crooked rod causes bunching. Use a level and re-adjust brackets or tension rod.
-
Curtain constantly falling: For tension rods, add non-slip pads; for heavy curtains, use a fixed rod.
-
Prevent bottom mildew: avoid installing the curtain too low (pooling water promotes microbial growth). Consider a mildew-resistant liner.
Choosing the Best Shower Curtain for Your Bathroom
In addition to learning how to install a shower curtain quickly and easily, you can also explore custom, easy-to-install shower curtains at TWOPAGES Curtains.
Properly installed shower curtains not only enhance the aesthetics and practicality of your bathroom, but regular cleaning and maintenance will keep them looking new for years, keeping the entire space pristine and fresh: How to Clean Your Shower Curtains and Liners.


Leave a comment