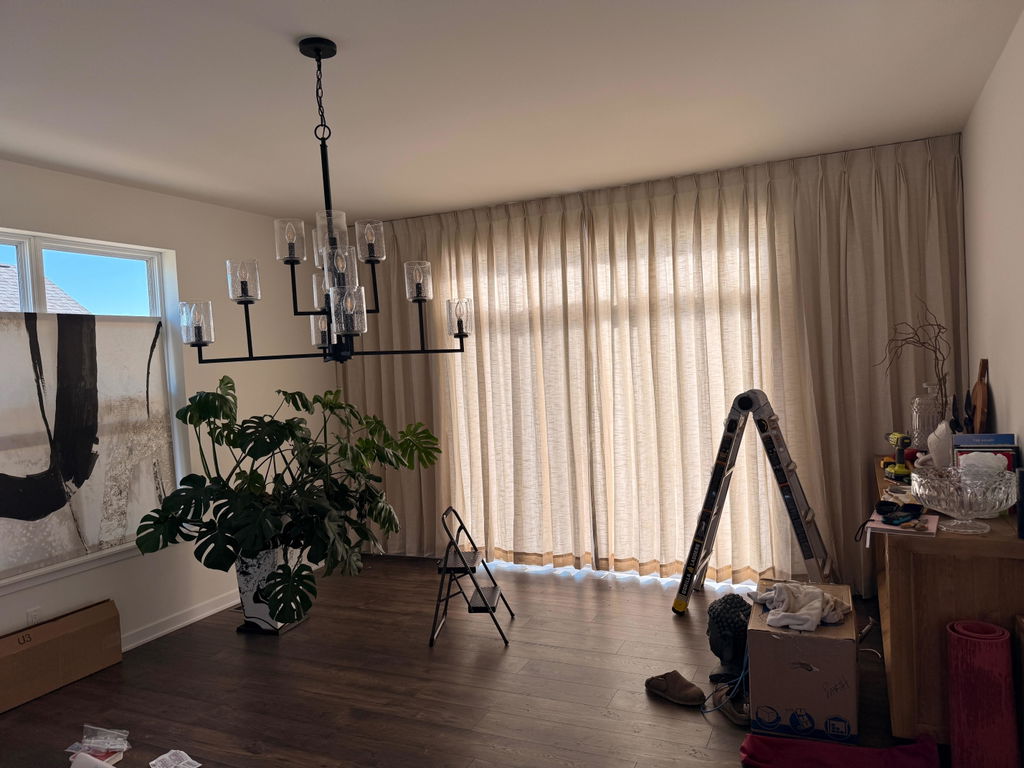
How to Hang Curtains Perfectly?
Curtains can not only add brilliant colors and layered textures to a space, but the right hanging method can also take into account both beauty and practicality, making the room an instant upgrade. Learn how to hang curtains and follow these steps to create the ideal decorative effect.
STEPS ON HOW TO HANG CURTAINS
Step 1: Preparation — Tools, Hardware & Measurements
Step 1.1: Tools & Hardware
Tool Checklist: Steel tape measure, level (optional), marker/pencil, drill, screws + wall anchors, screwdriver, ladder or step stool.
Hardware: Curtain rod or track, curtain rings or hooks, draw rod, etc. Hardware depends on your chosen curtain type.
Step 1.2: Measurement Essentials
Achieving perfectly hung curtains starts with accurately measuring curtain length and width using a steel tape measure. Record all measurements. This is broken down into two parts: Length first, then Width.

Step 1.2.1: Determine Curtain Length
The final curtain hanging length depends on two factors:
-
Rod Height: The distance from the rod to the floor.
-
Fabric-to-Floor Clearance: The distance between the curtain hem and the floor.
Curtain Length: Rod Height Selection
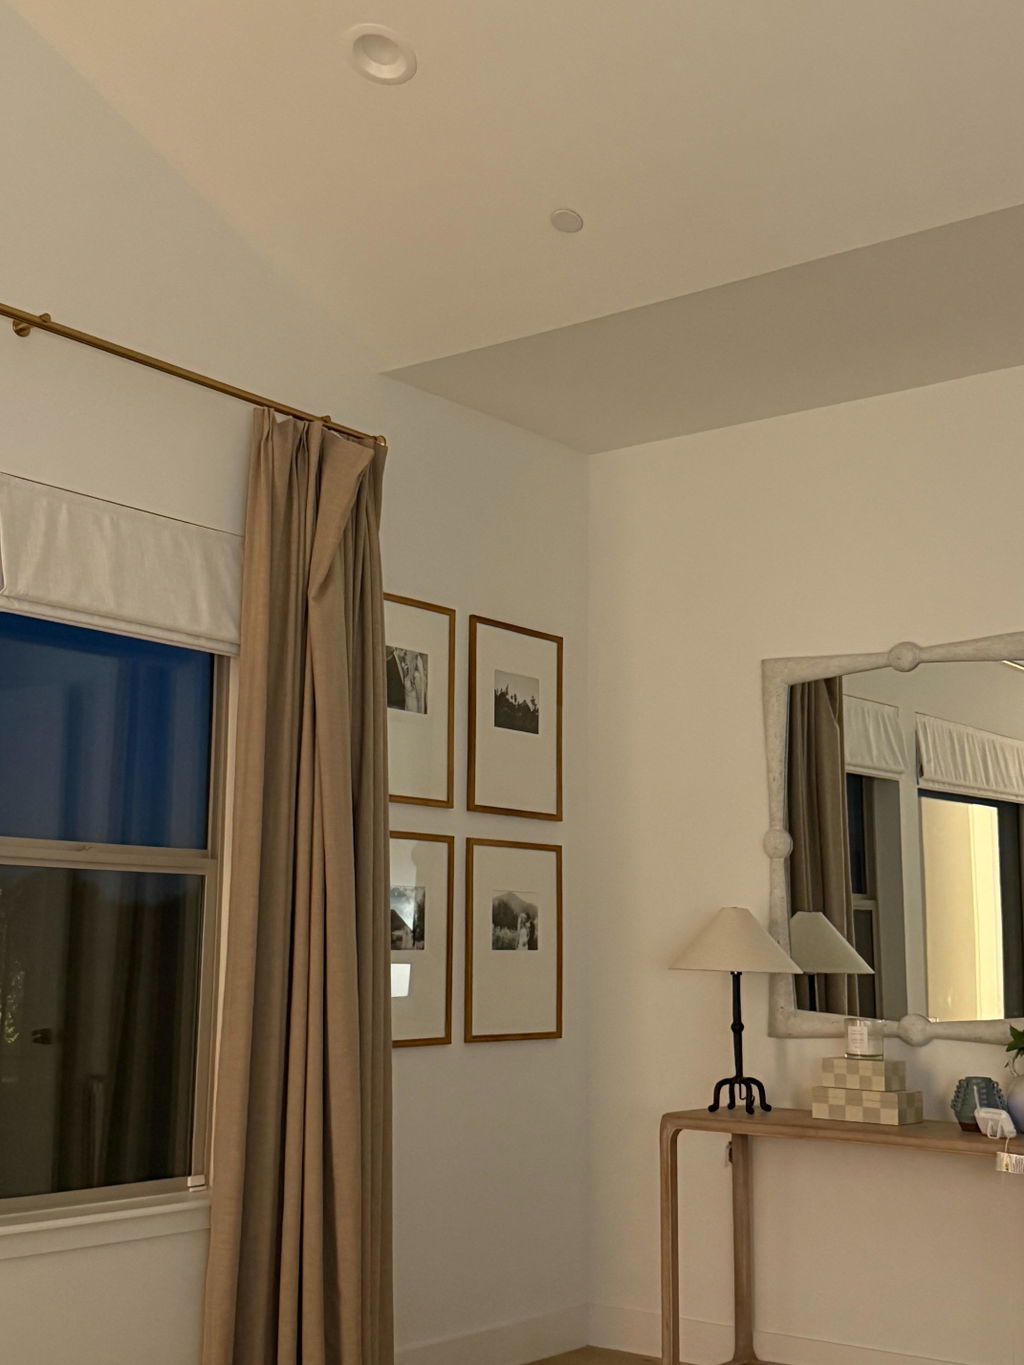
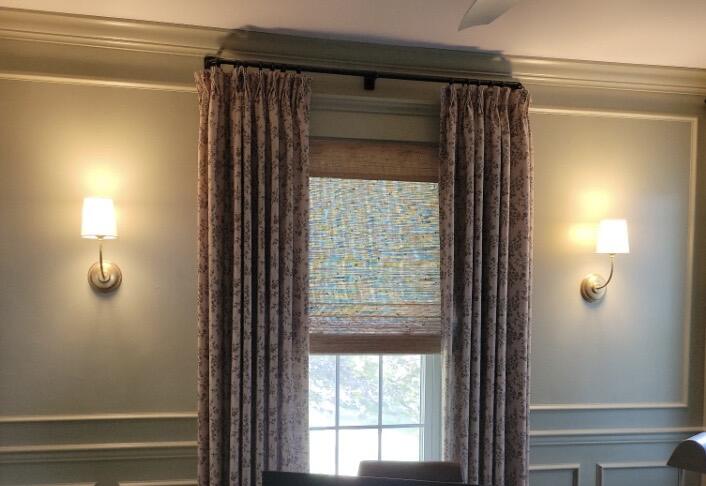
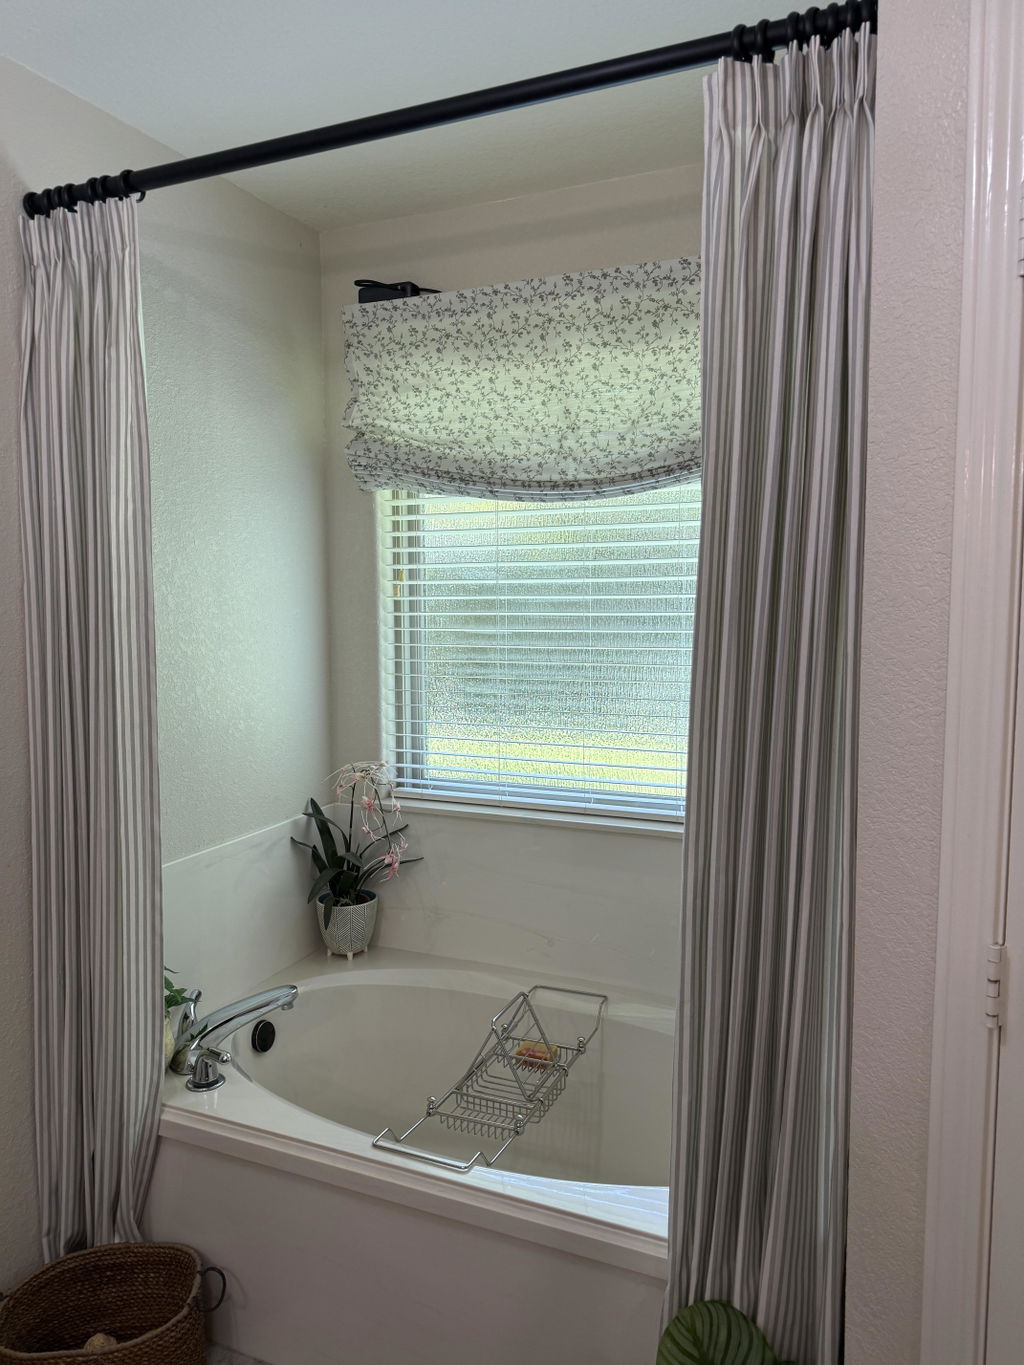
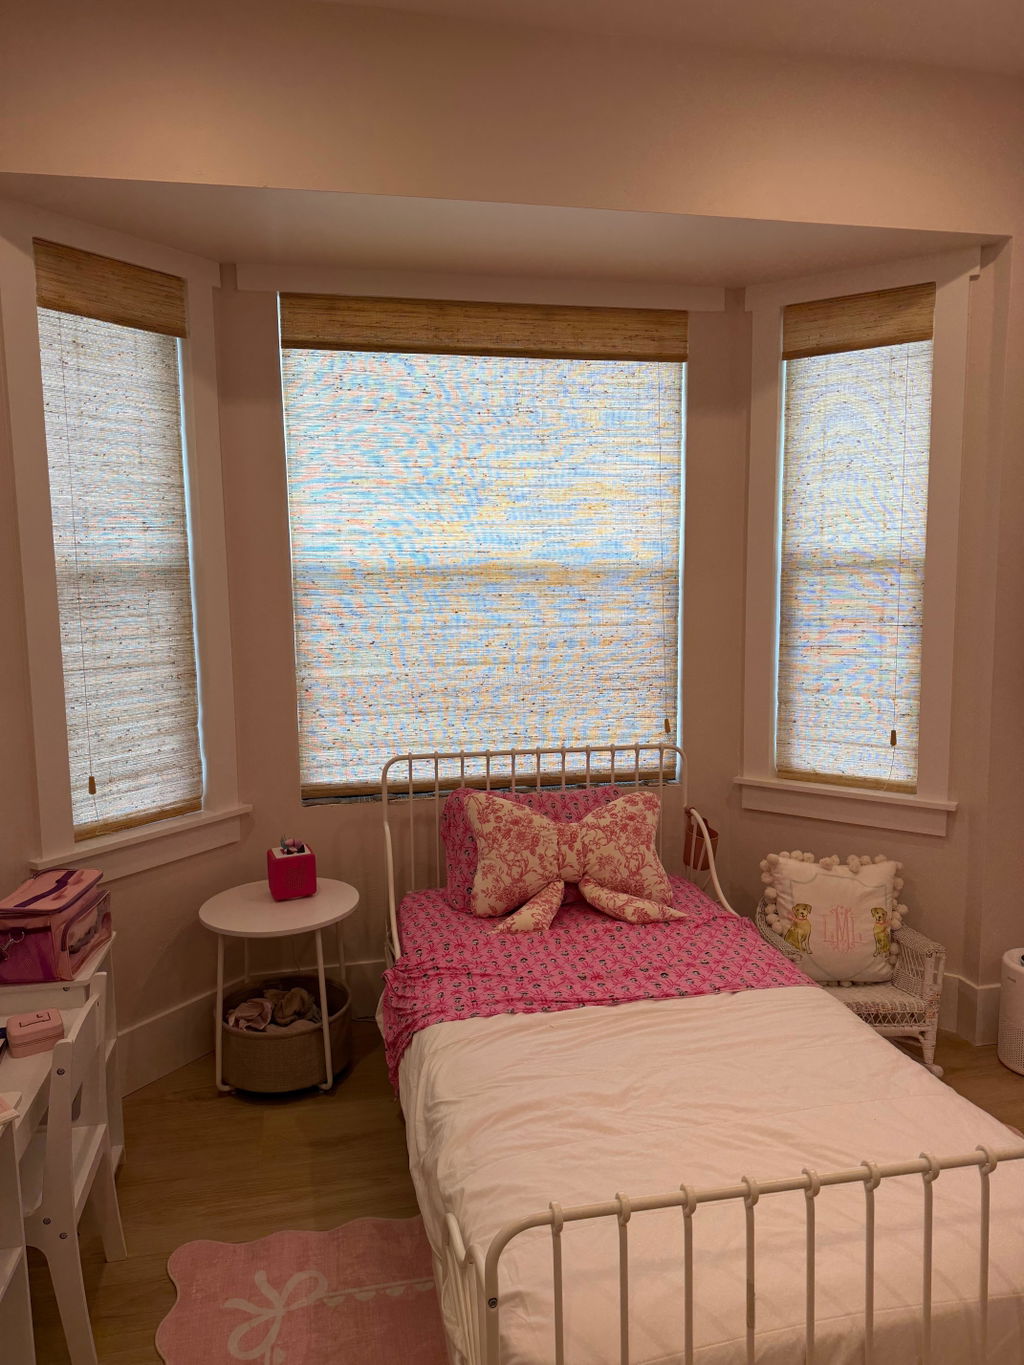
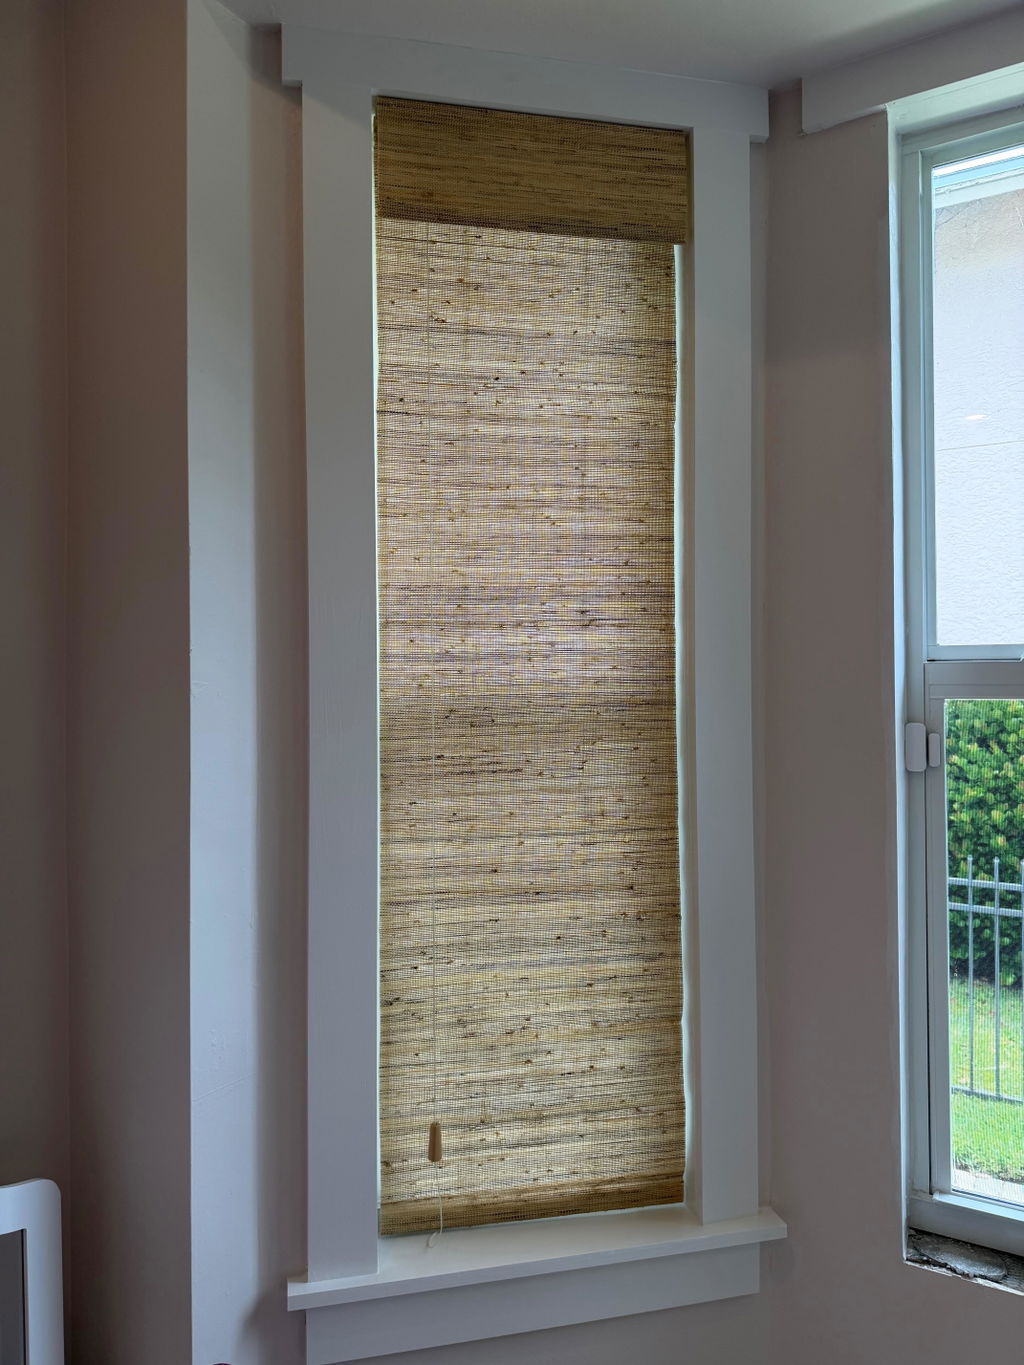
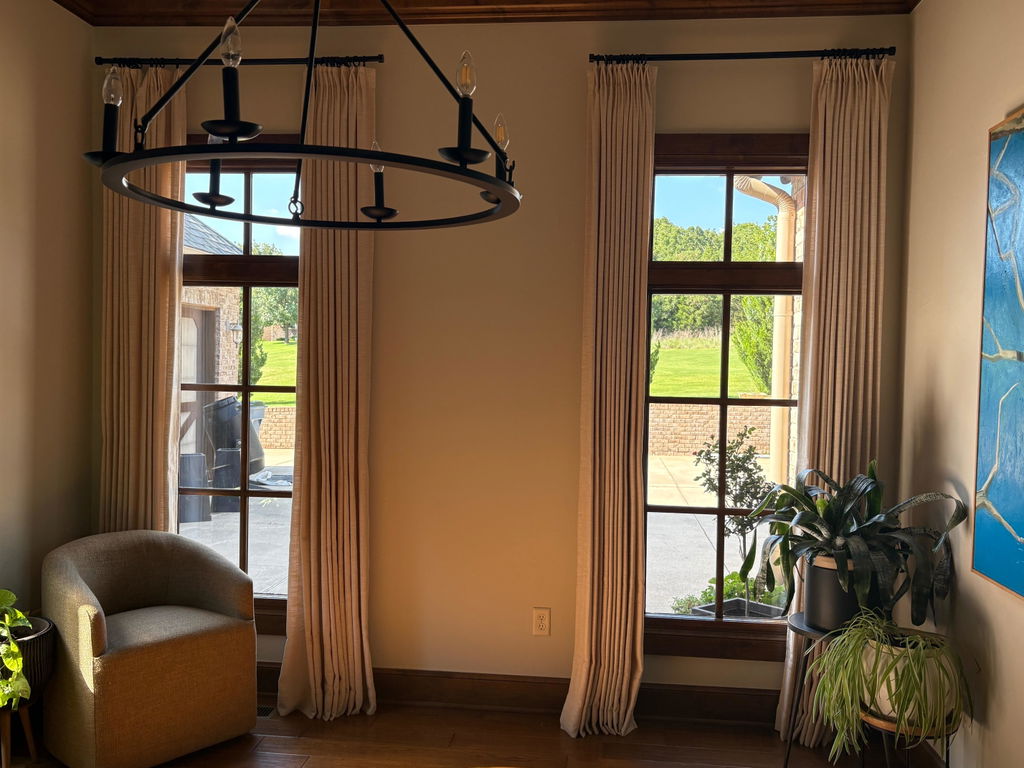
Typically, install the rod midway between the window frame and the ceiling, then raise it about 1-2 inches above that point. Mounting the rod flush to the ceiling also creates a “taller window” visual effect. However, choose how to hang curtains and make adjustments based on your specific ceiling or trim conditions:
-
Ceilings with Crown Molding/Decorative Trim: Mount the rod directly at or just below the molding to avoid an unsightly gap.
-
Limited Ceiling Height: If the vertical distance between the window frame and the ceiling is under 0.5 feet, install the rod 2–4 inches below the ceiling to maximize height without crowding.
-
Vaulted (Cathedral) Ceilings: For vaulted or very high ceilings, place the rod about 6-10 inches above the window frame. This makes the window appear taller without bringing the curtain rod too close to the top, making it look out of place.
Once you've determined the proper height for how to hang curtains, the next focus should be on the ideal length of the curtains.
Curtain Length Styles
To achieve the ideal blend of aesthetics and functionality in how to hang curtains, the key is to choose the best option from these three classic curtain styles:


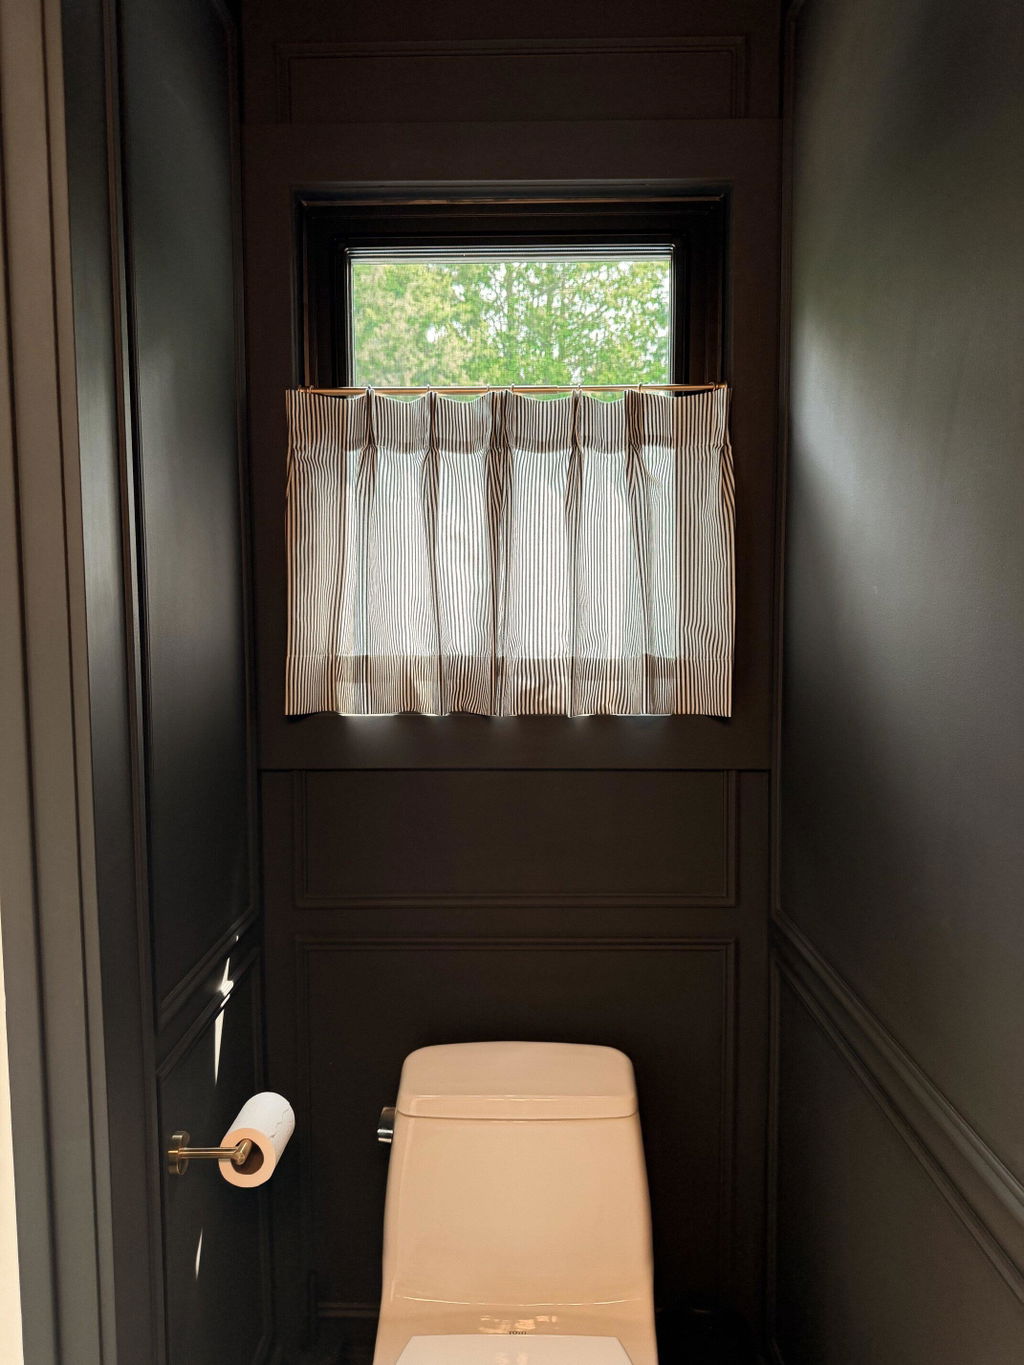
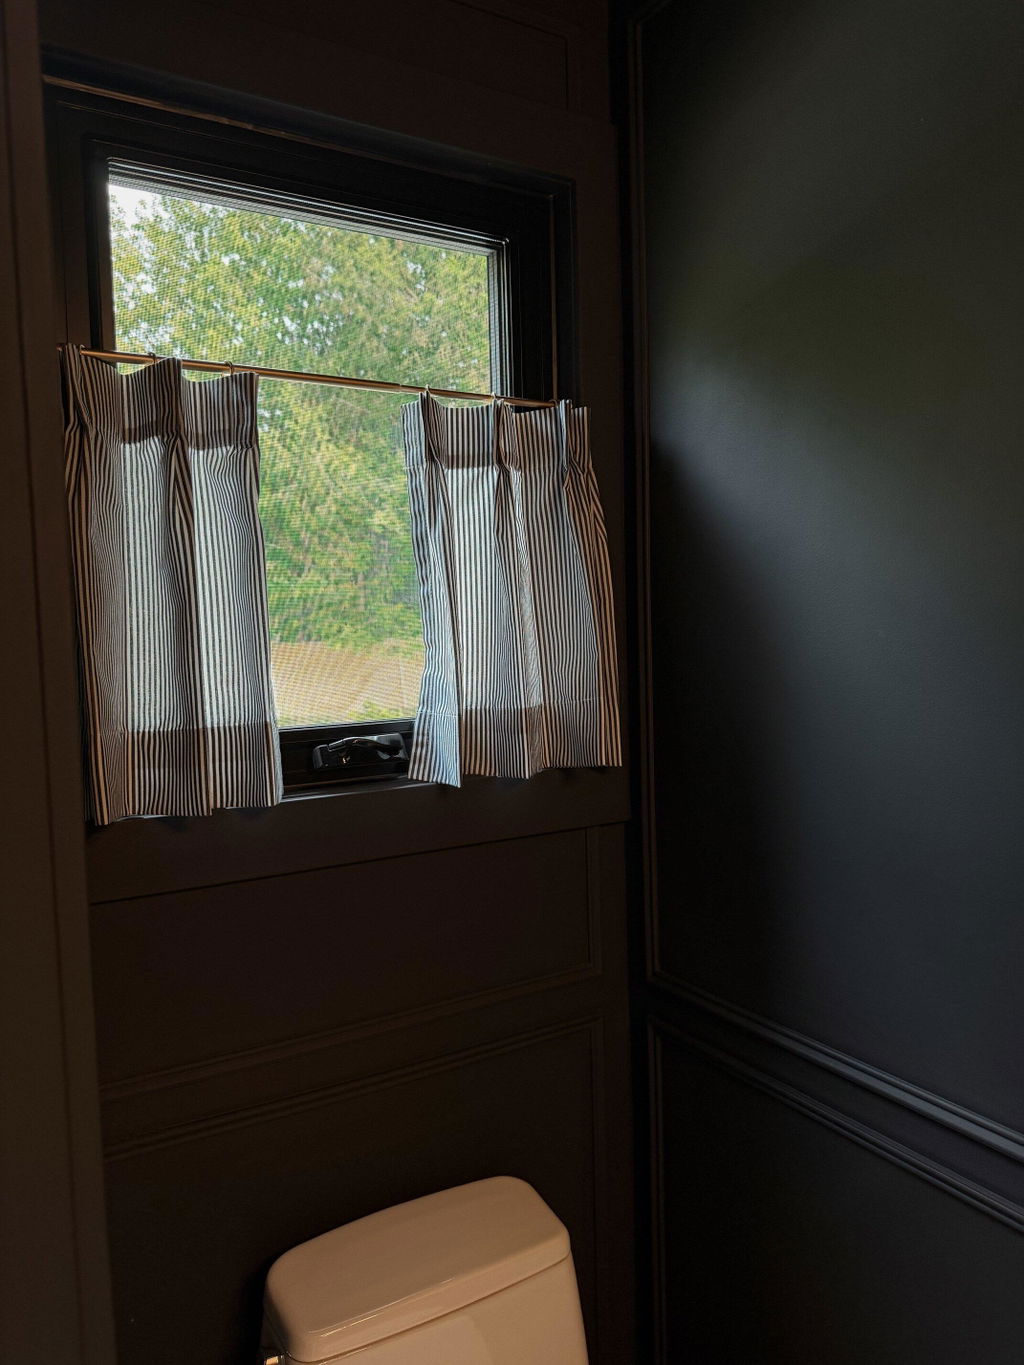
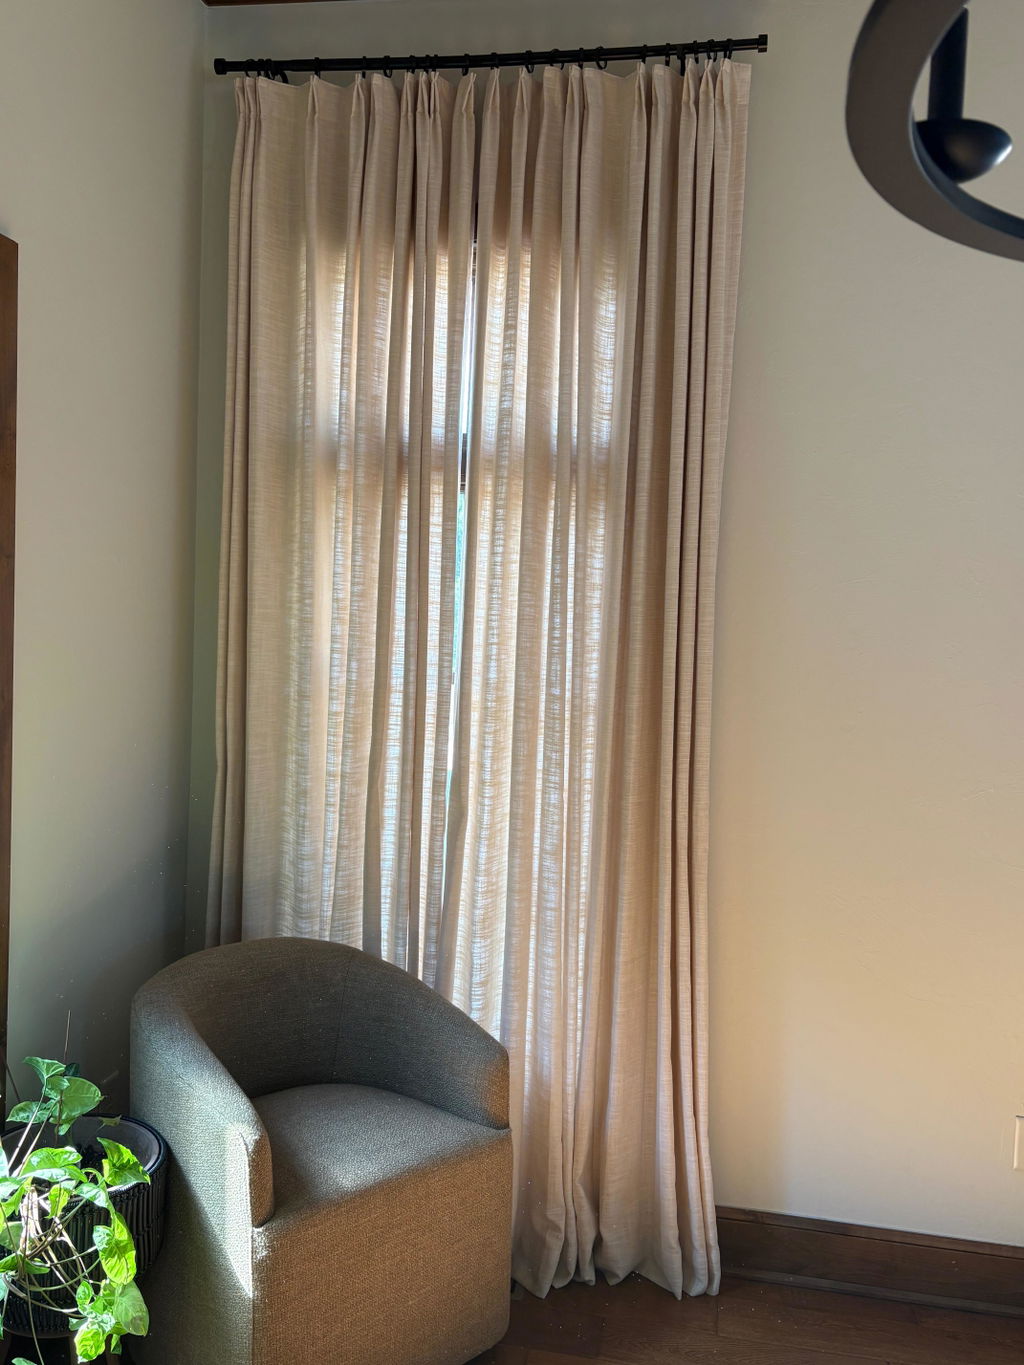
Break Style:

Puddle:
Intentionally allows 1-3 inches of fabric to pool on the floor for a luxurious, dramatic effect. Typically suited for purely decorative, non-functional panels, or settings demanding opulence. Note: The puddle area is prone to dust.
Step 1.2.2: Determine Curtain Width
Mastering how to hang curtains perfectly also involves determining curtain width, which involves two factors: Rod Width and Fabric Width:

Rod Length:
Measure the actual window frame width, then extend the rod approximately 1 ft beyond the frame on each side (Total Rod Length ≈ Frame Width + 2 ft). This ensures the curtains, when fully open, don't block the glass, making the window appear wider.
Fabric Width:
Fabric width is not equal to window width. Generally speaking, order curtain width = curtain rod width. It must be adjusted based on desired Fullness (the lushness when closed) and Stack (the space the curtains occupy when fully open to the sides). For more fullness, multiply the rod width by 1.5x to 2x, depending on fabric thickness and pleat style. Special note: TWOPAGES sets the pleated curtains to 2x-2.3x fullness and ripple fold style curtains 2x fullness by default for your final decorative effect.

Fullness: Refers to the richness of the gathered fabric when the curtains are closed. It's the ratio of fabric width to rod width. Higher ratios create more volume—1.5× for moderate fullness, 2× for a lush look.
Stack: The width the curtains occupy when fully pushed open to each side. Affected by the pleat type, fabric, and lining. Normally stacking width accounts for 20% of the drapery width.
Practical Calculation:
Taking TWOPAGES' soft top and grommet styles as examples,
To avoid the curtains appearing too thin when closed or taking up too much space when open, please multiply the window width by 1.5x (medium fullness) or 2x (custom fullness), depending on your preferred look. You can also use our Drapery Measurement Finder to quickly calculate your curtain dimensions.
Extra Tip: For decorative curtains that never move, use higher fullness ratios. For daily-use drapes, moderate fullness ensures easy operation. In corner or alcove setups, you may reduce rod overhang.
After the measurement is completed, the next installation steps are the key points that cannot be ignored in how to hang curtains perfectly. Whether using a track system or rod/rings, the process is similar, primarily differing in bracket quantity. You can hang your curtains by following the simplified "Step 2" and "Step 3" below.
Step 2: Mark & Install Brackets: Rod, Track
Step 2.1: Level & Drill
Mark a level line on the wall to ensure all brackets sit at the same height, align the end brackets with this line at their planned positions and pencil-mark their screw holes, double-check measurements before drilling pilot holes. If drilling into drywall or plaster (not solid wood), insert wall anchors for strength. Drill depth should slightly exceed the anchor length. Crucial: Avoid electrical wires or plumbing within the wall!

Step 2.2: Secure Brackets
Align the brackets with the holes you have drilled, and use a screwdriver or electric drill to screw in the screws to secure them to the wall (or the top). Usually, the brackets are spaced about 30-36 inches apart, and it is recommended to add intermediate supports for longer rods. After tightening each bracket, check again with a level to ensure that they are on the same horizontal line. After tightening all the screws, make sure that the brackets are firm and straight. At this point, the curtain rod is ready for installation, and next come the actual steps on how to hang curtains.


Step 3: Executing How to Hang Curtains
Step 3.1: Pre-Hanging Prep
Before hanging curtains, you can iron or stretch the curtain fabric to make it flat and wrinkle-free. According to the shape of the curtain headers, install hooks, rings or clips in advance: for example, insert plastic hooks on the upper edge of pleated curtain fabrics, and buckle the hooks on the curtain header. If it is a curtain ring or fabric hook type curtain, just slide the ring over the curtain rod.
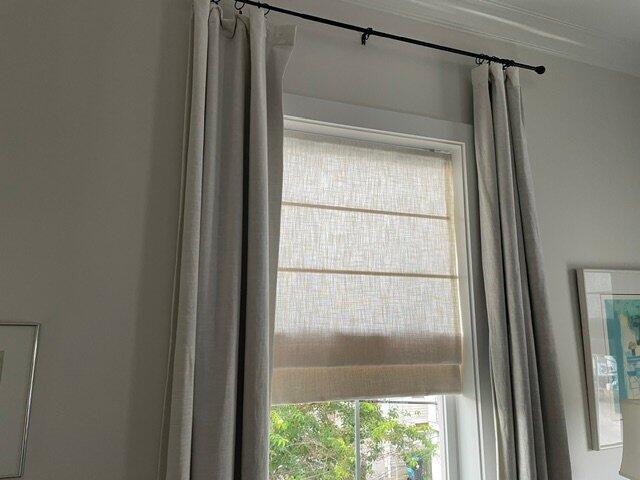
Step 3.2: Hanging Methods
The primary methods for how to hang curtains involve hooks, rings, or tracks. First, attach all hooks/rings/clips to the rod or panel, then mount the rod or hang the panels.

Hook Style(Pinch Pleat):
Fix the ring first during installation, then hang the hook on the matching ring, and then hang the hook and curtain fabric one by one. Suitable for various traditional curtain head shapes.

Ring & Clip Style:
Use metal or plastic rings (curtain rings with clips) to fix the fabric on the rod. These curtain rings can slide freely on the rod like pulleys. When installing, first hang the curtain rings on the rod according to the spacing, and then clamp the curtain fabric.

Track Style:
The curtain is carried by the sliding hooks or beads on the track, which is common in top-mounted tracks. Top-mounted tracks can be easily spliced and extended, and the hooks slide smoothly. When installing, fix the track first, then put all the sliding hooks/sliding beads in place and hang the curtain fabric.
Step 3.3: Adjustment & Correction
After hanging curtains, check the overall pleats and symmetry. Pull the curtains apart and align them to ensure that they are balanced on both sides, and the pleats should be evenly distributed. Gently shake the curtains to make the hem naturally vertical, and use a level ruler to check again whether it is straight and aligned. If necessary, redistribute the hooks or move the curtain rings until the left and right sides are symmetrical and the bottom edges are flush. Make sure the hem is at a suitable distance from the ground (if set to touch the ground or mop the ground effect), and the curtain fabric is not twisted, and the hanging adjustment is complete.
Step 4: Styling & Finishing
Tiebacks & Holdbacks: Install decorative tiebacks or holdbacks. Mount holdback hooks on the wall at roughly 1/3 to 1/2 the curtain height on each side of the window. Pull the curtain fabric back and hook it onto the holdback to create elegant swags when open. Choose tiebacks/holdbacks that complement your curtain style for symmetry and enhanced aesthetics.
Finials & Pull Rod: Don't forget decorative finials (balls, flowers, etc.) for the ends of the rod! They conceal the brackets and complete the look. If using a pull rod (draw rod) to open/close the curtains, attach it to the end of the rod. This allows easy operation without touching the fabric directly. With all hardware installed, your curtain hanging project is complete!
By following the steps above—precise measurements, precise bracket installation, careful hanging, and thoughtful styling—you can master how to hang curtains perfectly. For more help, refer to TWOPAGES' measurement guide, installation video, or contact customer service.
FAQs
Q: What if my curtain rod is installed too low?
A: A low rod makes ceilings feel cramped. Remove and remount 6–10 in above the window frame for ideal proportions.
Q: How do I fix an unlevel bracket?
A: Loosen screws, reposition bracket until level, then retighten.
Q: Why are my pleats uneven or is there insufficient fabric?
A: Ensure you’ve used enough hooks or rings (fabric width is typically 1.5x-2x the rod width for fullness). Redistribute hooks or add rings.
Q: My curtain hem is too high or too long. What should I do?
A: If too high, remake the hem or choose longer curtains. If too long, raise the rod or shorten the hem.
Q: How can I reduce light leakage from curtains?
A: Consider making the brackets wider or using two curtain layers. Extend the curtain rod wider at both ends or add an overlap in the middle of the curtain. These methods help minimize light gaps at the sides and center.

Can I specify a return size for the flat piece of header on the outsides of my curtains that return back to the wall? Can I end with a pleat on the inside edge because these are just side panels.
What if you have windows at different heights in a room. I have a barrel ceiling so the two side windows are lower than the large front windows. I assume I hang the side windows 2 inches below the ceiling, but the other window where?
Leave a comment